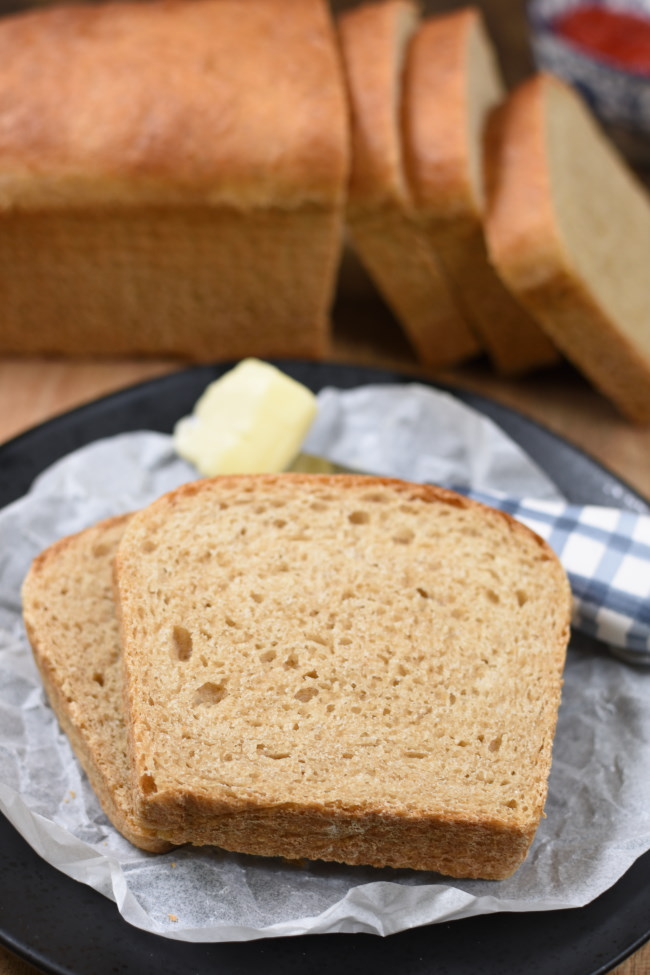
No Knead Whole Wheat Bread is the most comforting food in the world! I have to admit it can be intimidating though if you’ve never made it before. No worries! This recipe is so EASY to make and I’m going to walk you through all the steps (and there aren’t very many)! You basically throw everything in the bowl of a stand mixer (no bread machine needed) and let it do the work for you! Plus I love that this recipe is 100% whole wheat bread and it doesn’t have any refined sugar!
Coming home to the smell of Cake Mix Butterscotch Cookie Bars, S’mores Cookies, or Oatmeal Pumpkin Chocolate Chip Cookies wafting through the house is glorious! But, there really is nothing like the smell of freshly baked bread welcoming you home after a long day at work or school!
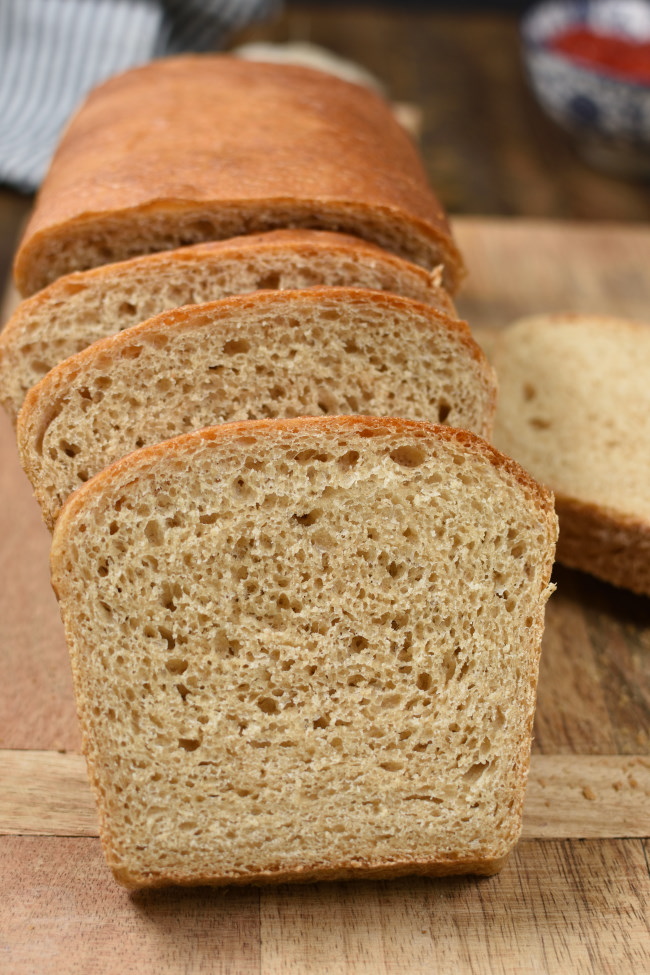
Sometimes whole wheat bread can be dense and heavy. Not this bread recipe! It makes great sandwich bread too!
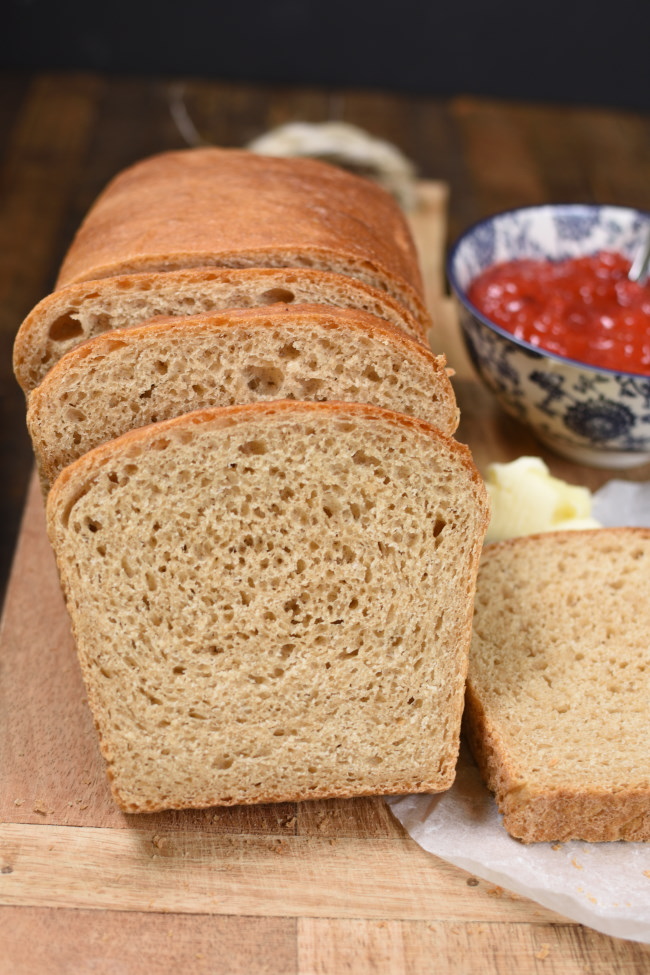
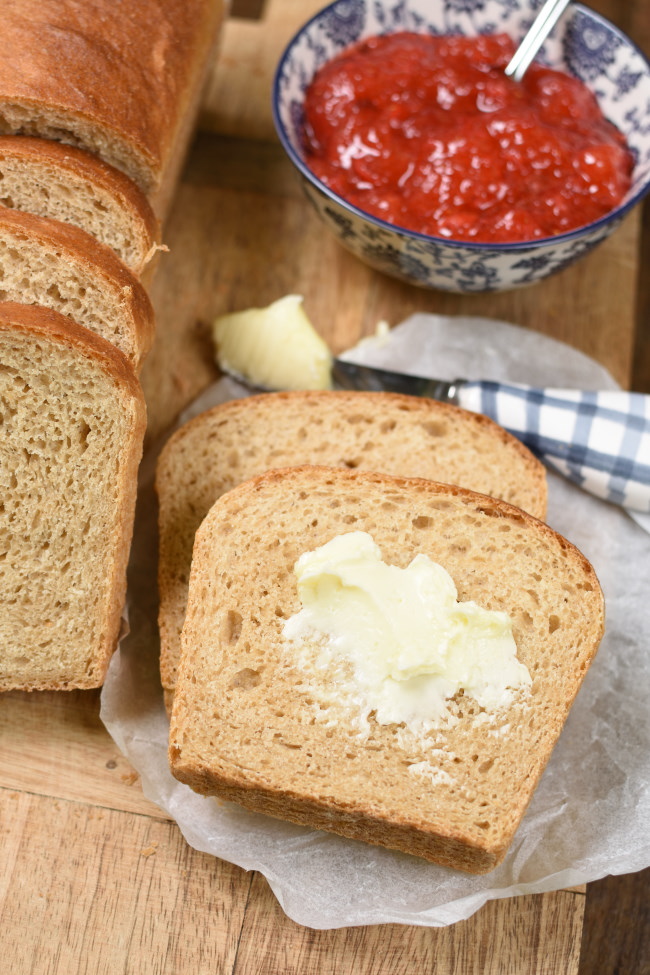
I try really hard to be available, and present, when my boys get home from school. They’re bursting with stories from their day and they can’t wait to share. I LOVE having a little snack for them and being able to just hang out and enjoy them for a few minutes before they rush off to do chores. The secret to getting them to stay is having sliced homemade bread, plenty of soft butter, and Raspberry Peach Freezer Jam!
Do I always need to proof yeast in bread recipes?
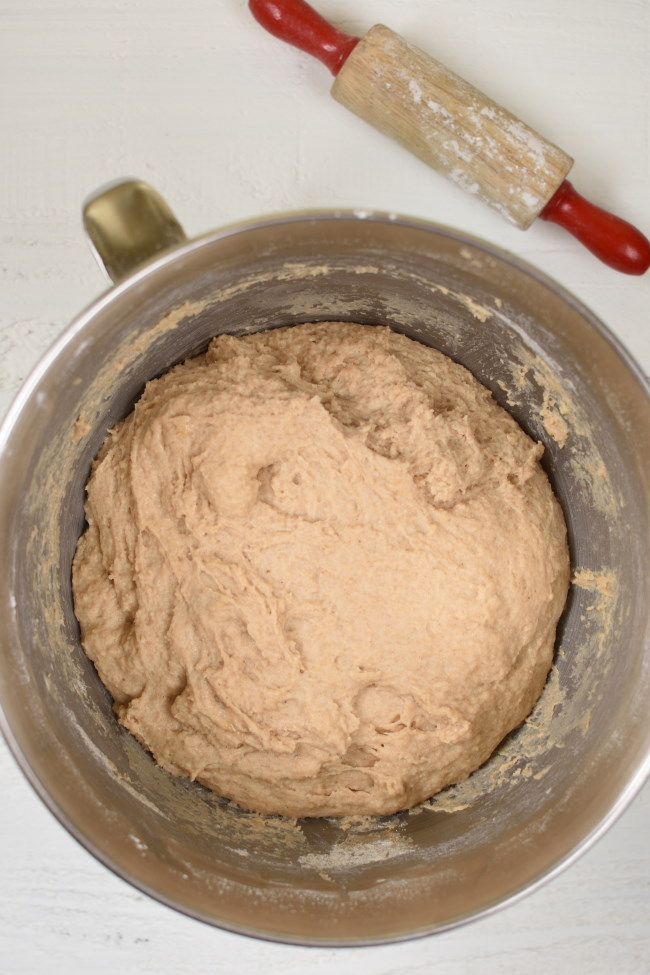
I’m not kidding when I say this is the easiest bread recipe in the world! Throw all the ingredients in a mixer bowl at once. No need to let the yeast proof. Turn the mixer on and let it rip for about 5 minutes. The mixer will effortlessly knead that bread to perfection!
Every bread recipe is created a bit differently. Many of them require proofing the yeast. In simple terms that means mixing it with warm water and some form of sugar which allows the yeast to get bubbly.
One of the major differences in determining whether yeast needs to be proofed is the type of yeast you are using. There’s active dry yeast and instant yeast. Be sure to read the recipe carefully and follow directions. For this recipe, I use instant yeast.
This recipe calls for “dough enhancer”. From what I’ve read about dough enhancers they improve taste, texture, and crust of homemade bread. I’ve made this bread recipe omitting the dough enhancer and I don’t notice a huge difference, so I think you can successfully omit it. However, if you’d like to try it here’s a link to dough enhancer https://amzn.to/2Excf2B {Amazon Affiliate Link}
Rising yeast bread
One of the awesome things about this recipe is that it doesn’t need to rise before shaping into loaves, which is such a time saver. Shape the dough any way you’d like. I typically roll it out on a canvas mat and shape it into two loaves. Remember though, you won’t need to knead the dough at all. The mixer already did that for you. How easy is that?
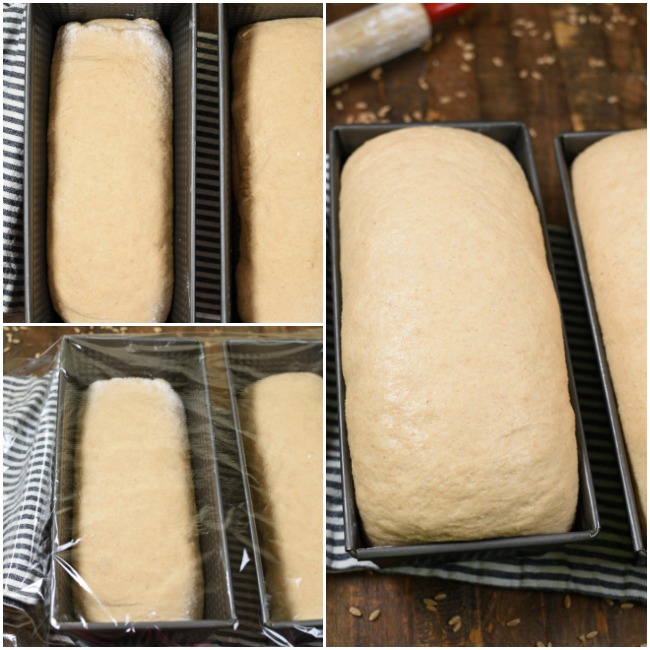
Now that it’s shaped into loaves, it needs to rise until doubled. Time will vary depending on the temperature of your kitchen, probably about 30 minutes.
Be sure to cover bread loaves with plastic wrap sprayed with nonstick spray. It helps keep the bread from drying out while it rises.
Butter the tops of bread
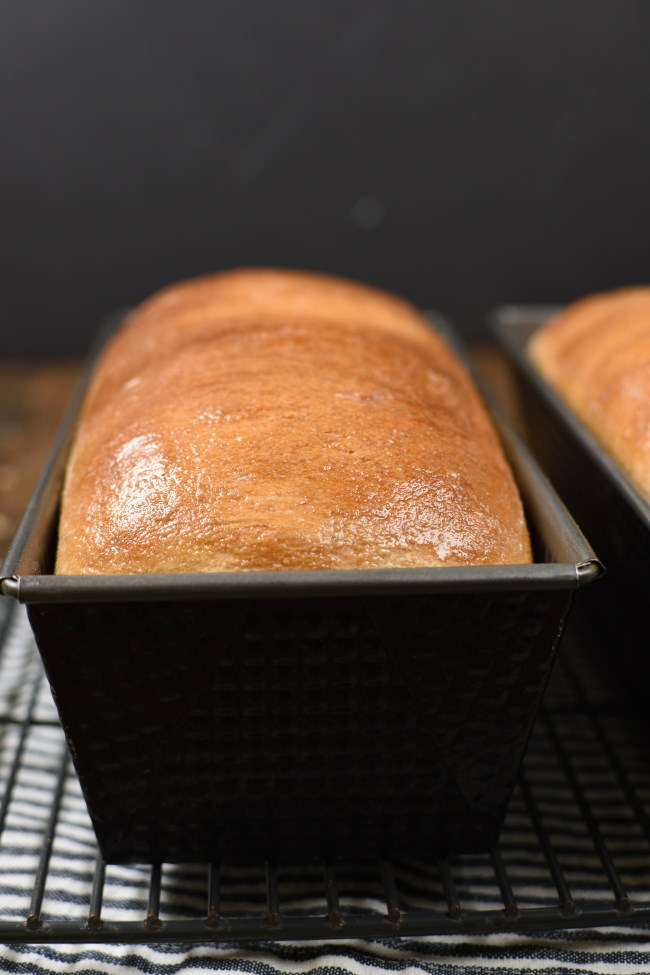
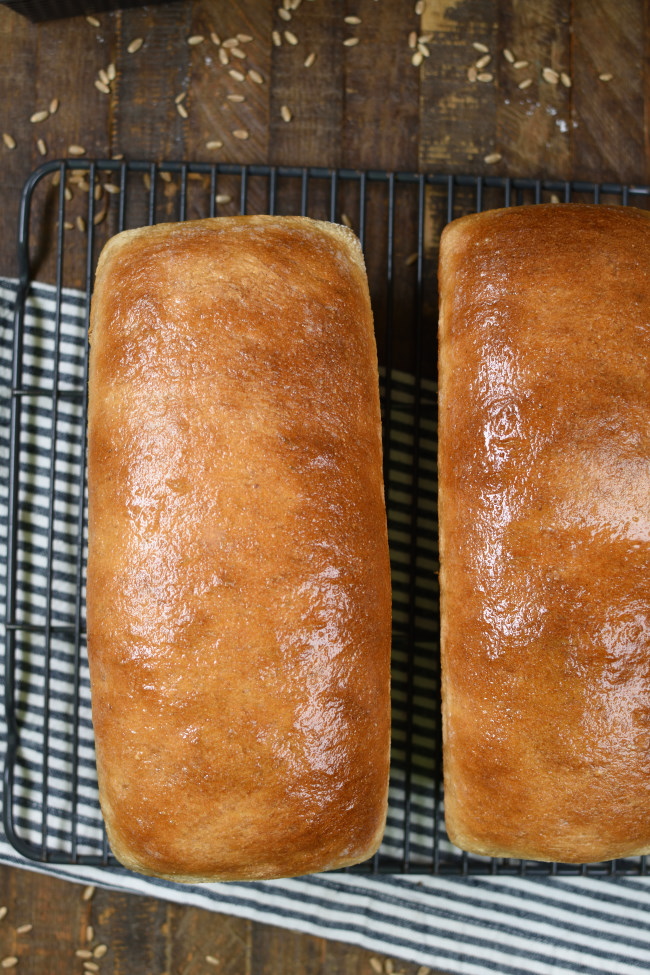
You guys, my family owns a dairy farm! Of course, I’m going to suggest buttering the tops of freshly baked bread with butter! Not only doesn’ it make it absolutely gorgeous, but it also gives it that added richness! Yum!
Unwrap one end of a stick of butter and gently rub it over the bread tops! That’s the easiest way to do it, and you won’t get any dishes dirty either!
Do I need to let warm bread cool on a rack?
Leave baked bread in the pan for a couple of minutes after removing it from the oven. Bread will continue to bake and create steam inside the warm bread pan, which makes the bread soggy. You don’t want soggy bread!
Remove loaves from the bread pan and let completely cool on a baking rack, unless you just can’t wait and dive in right away!
If you have any loaves left after they have completely cooled store them in an airtight container. I love these Bread Bags {Amazon affiliate link}!
What is the best kind of wheat to use in making bread?
There are several different varieties of wheat out there. You should see how much wheat is grown in my little farming community! Our rural roads are busier than ever in late July and August because of all the grain trucks! It’s a crazy busy time of the year when farmers pretty much work around the clock! It’s exciting though!
Some varieties of wheat include; hard red winter, hard red spring, hard red wheat, soft red winter, durum, and soft white wheat.
Varieties are based on when they are planted, the hardness of the wheat, and color. Red wheat varieties have a bit more protein than white wheat. And obviously it has a bit darker color, and a more intense flavor.
My favorite variety is soft white wheat because it looks, and tastes, closest to white flour. If I buy whole wheat bread from the grocery store they complain, but they are perfectly okay with homemade whole wheat bread!
NOTE: I’ve had questions about using bread flour instead of whole wheat flour. I’m guessing you could substitute 1:1 and with success. I’ve never tried it though so I can’t promise anything!
What is the difference between active dry yeast and instant (rapid rise) yeast?
The granules in active dry yeast are bigger than the granules in the instant yeast. Instant yeast can be added to bread with the rest of the ingredients. Because active yeast granules are bigger they take a little longer to activate. Can you substitute active yeast for instant yeast? Yes! Here’s what you’ll need to do to activate it.
- Add warm water (between 105-110 degrees) to a measuring cup.
- Use 25% more active yeast than the amount of instant yeast called for.
- Sprinkle yeast over warm water.
- Sprinkle about a Tablespoon of sugar (or another sweetener like honey) over the water.
- Gently stir.
- Let sit in a warm spot until bubbly.
Yeast does lose the ability to activate if it’s too old. So check the expiration date for the best results.
What can I serve No Knead Honey Whole Wheat Bread with?
Obviously, homemade bread is amazing served with any soup, salad, or main dish! It’s also a scrumptious snack all on its own! Here are a few super easy main dish ideas for that will complete a hearty, comforting meal!
- Slow Cooker Beef Stew
- Slow Cooker Cheesy Tortellini
- Lemon Pesto Pasta Salad with Grilled Chicken
- Slow Cooker Creamed Peas, Potatoes, and Ham
- Slow Cooker Cubed Steak in Mushroom Sauce
- Chicken Gnocchi Soup
Here’s the printable No Knead Whole Wheat Bread recipe!
If you’re intimidated by making homemade bread, THIS is the recipe for you! Homemade bread has never been easier than with this recipe! It turns out perfect every single time and even my boys who claim they only like white bread devour this stuff by the loaf!
Try it out, come back and leave me a comment letting me know what you think! I have a feeling you, and your family are going to LOVE it!
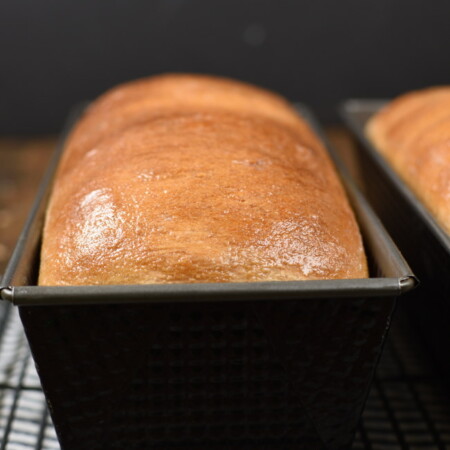
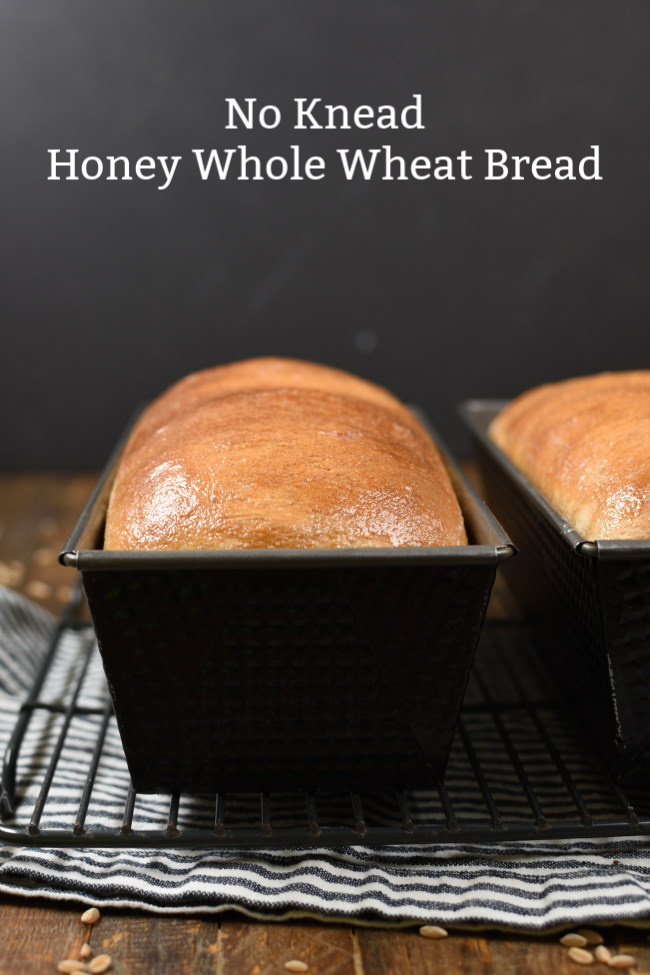
No Knead Honey Whole Wheat Bread
Ingredients
- 2 1/2 cups warm water
- 1/4 cups oil
- 1/2 cups honey
- 1 1/2 tsp salt
- 1 1/2 tsp dough enhancer
- 1 1/2 tsp lemon juice
- 5-7 cups whole wheat flour divided
- 1 1/2 TBSP instant yeast
Instructions
- Grease two bread pans. Set aside.
- Put all ingredients (starting with 5 cups of flour) in the bowl of an electric stand mixer. Add yeast last.
- Mix on low speed until mixed together. Add additional flour half a cup at a time, mixing after each addition. Continue adding flour until dough peels away from sides of the bowl.
- Keep mixing on low speed for 5 more minutes.
- Remove dough from mixer bowl, divide in half, and shape into two bread loaves. Place one loaf in each prepared pan.
- Spray plastic wrap with nonstick baking spray. Cover bread pans with plastic wrap. Let rise until doubled in size. The amount of time will vary depending on the temperature of your kitchen. It usually takes around 30-45 minutes.
- Preheat oven to 350 degrees. Bake bread for 30-35 minutes.
- Brush tops of bread loaves with butter. Remove bread from loaf pans and cool completely on a wire rack.
- Slice and store in an airtight container.

Larry Keeley says
I’m 81 and just starting to do some baking. I’m anxious to try this bread recipe, looks like fun! If successful, it will be a pleasant addition to my other hobbies: wine making, reading and photography. More on this later.
Amy Engberson says
I’m excited for you to start your baking journey! I love that you’re learning new things. This bread recipe is a great one to start with because it’s really easy and so yummy! Good luck!
Anne Bartrem says
Think I could add a pkg of Lipton onion soup mix to this?
Amy Engberson says
That’s such a fun idea! I’ve never tried it before but I think it would work. You might want to omit the salt in the recipe because that soup mix has quite a bit of salt already in it. I might try reducing the amount of honey too so it’s not quite so sweet. Let me know how it turns out!
Anne Bartrem says
I added one pkg of Lipton onion soup mix and kept the same amount of salt and honey. Didn’t change a thing and it turned out delicious! Will be making it like that from now on. Terrific recipe by the way!
Amy Engberson says
Thanks for letting me know! That’s such a fun variation. I can’t wait to try it!