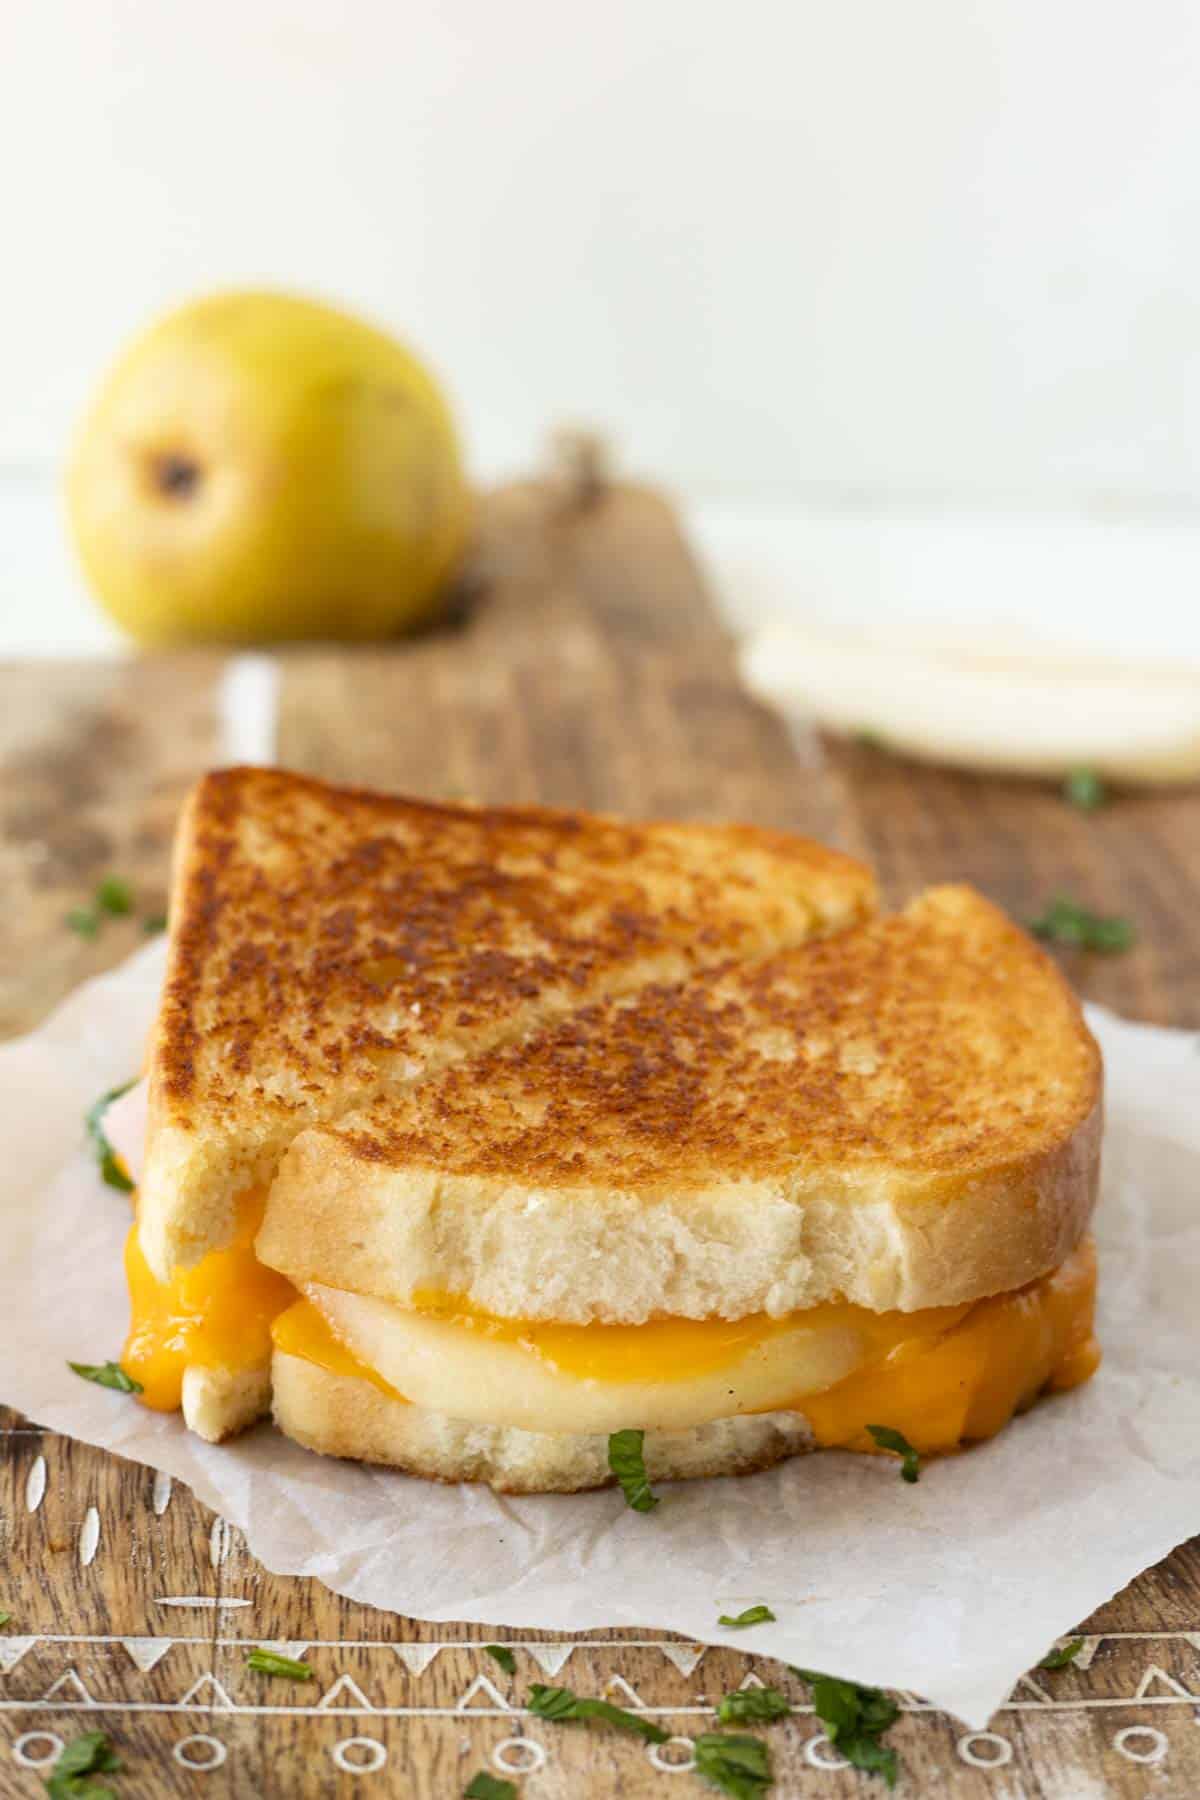
I’m in love with the flavor combo in this pear grilled cheese! Savory cheese and sweet, juicy pears are a match made in heaven! It’s definitely an easy way to take your grilled cheese sandwich game to a whole new gourmet level!

This post was originally posted in 2013 and updated in 2023 with new images and tips.
Grilled cheese sandwiches have always been one of my favorite quick and easy lunch ideas! You can’t beat gooey cheese melted between two toasted slices of bread!
Fruit and cheese are the perfect combination. I think I love it because I’m a savory sweet lover and cheese and pears have the perfect balance!
Making a grilled cheese with pear slices seemed like a good idea and I had to try it! I wasn’t wrong! It’s dang good! I love making them during that time of year when fresh pears are in season.
Be sure to check out my Pear Jell-o and Pear Oats Muffins recipes!
About Grilled Cheese with Pear
This is such a fun grilled cheese sandwich! Here’s why I love it so much!
- Simple Ingredients: Ya, you’ll need a fresh pear, but other than that you need simple everyday ingredients.
- Quick and Easy: In about 15 minutes you’ll be enjoying this toasted sandwich! It’s the perfect busy day lunch. It’s also fantastic for breakfast or dinner!
- Delicious: Grilled cheese sandwiches are a classic! They’re a favorite! Adding sliced pears is a great way to take them up a notch and make them the best!
- Customizable: Use whatever bread and cheese you have on hand. This isn’t a fussy recipe! Make it the way you like it!
Ingredients
I love that you can make this pear and cheese sandwich any way you like it. There are so many different ways to change it up so it’s just right for you. Use your favorite ingredients and this sandwich will turn out perfectly for you!
- Bread: White bread, multigrain bread, sourdough bread, or pretty much any other sturdy bread will work.
- Cheese: I love cheddar cheese the most! Some people love sharp cheddar, creamy brie cheese, blue cheese crumbles, or other good melting cheeses.
- Pears: Bartlett is my favorite! Anjou, Bosc pears, and Asain pears are good options, too. Make sure they are ripe but still firm.
- Butter: I’m a dairy farmer so I’m a fan of using butter to make grilled cheese, but you can use mayo or olive oil if you prefer.
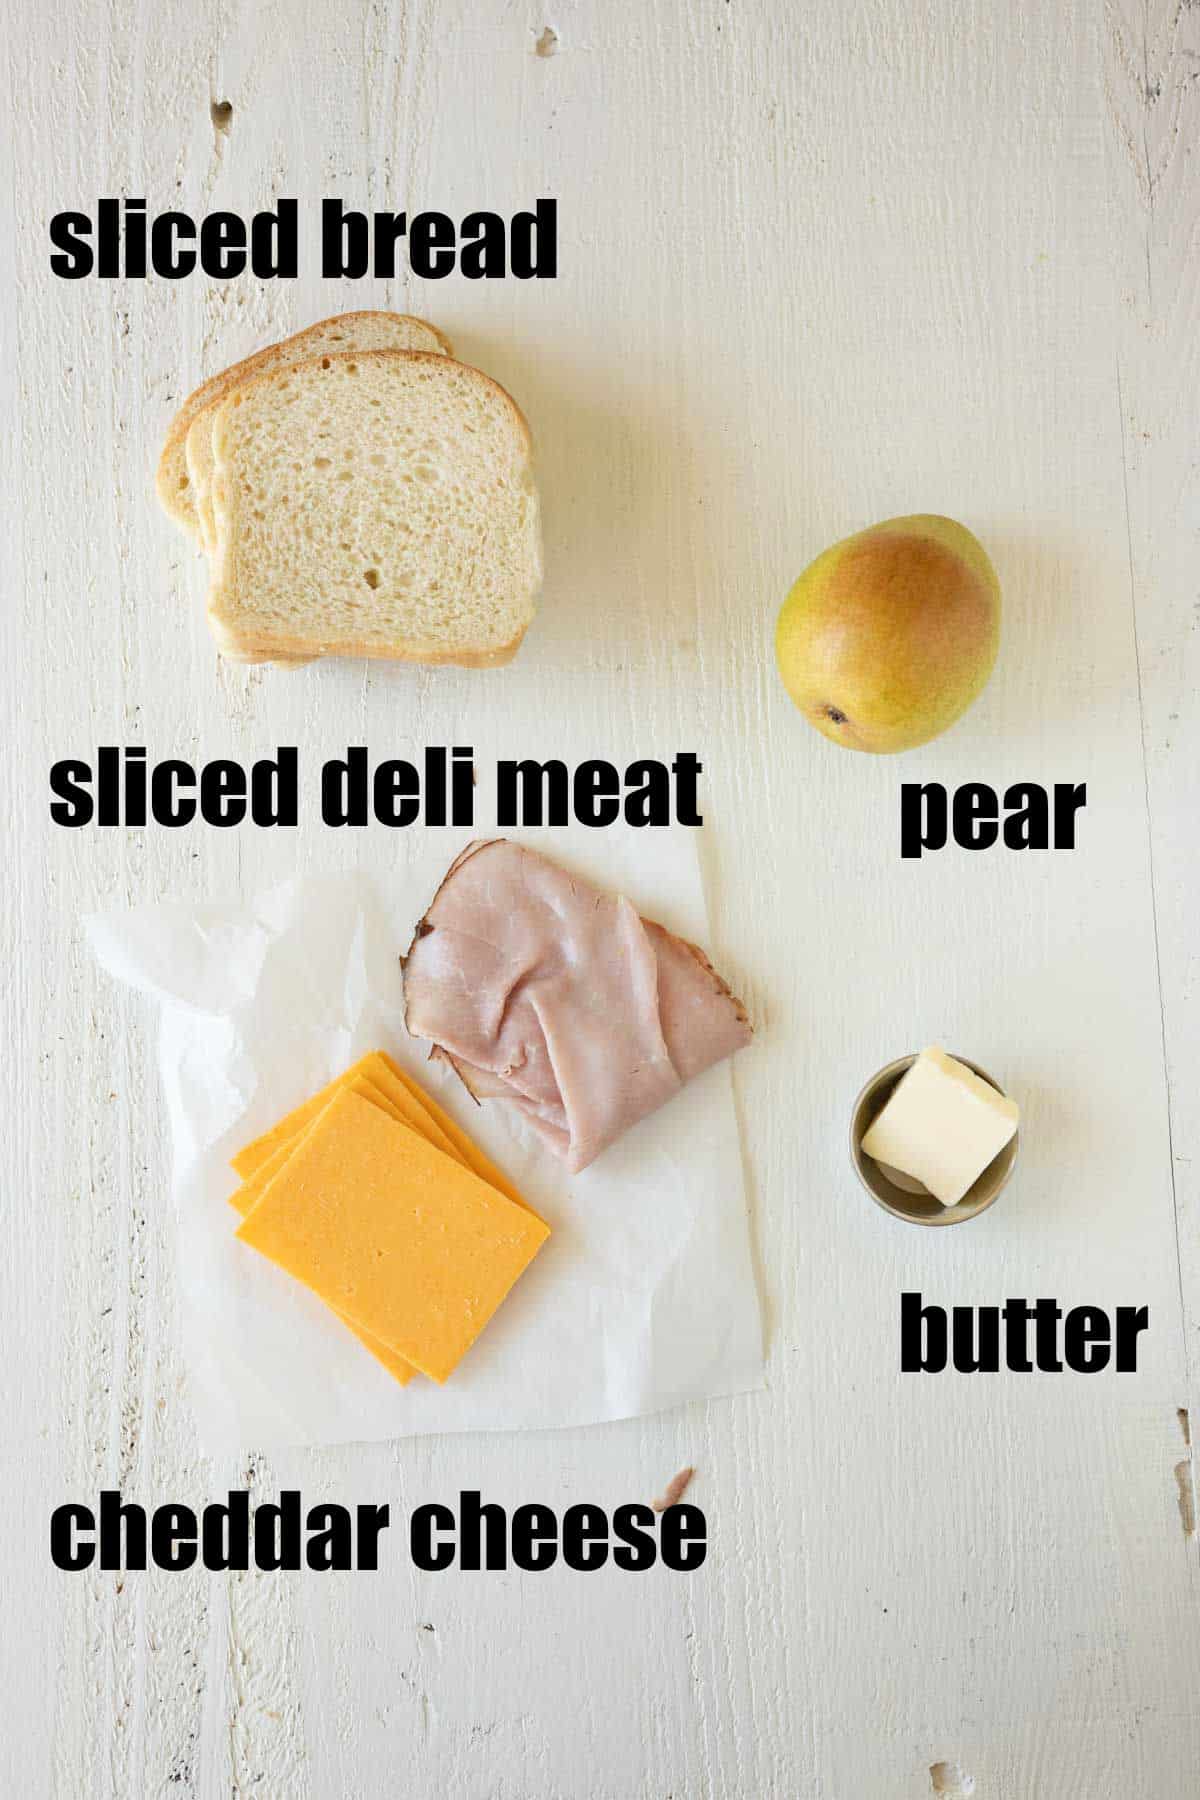
How to Make a Grilled Cheese with Pear
This really is such an easy recipe! Let me walk you through it and give you some of my tips to make sure it turns out perfectly golden brown and gooey on the inside!
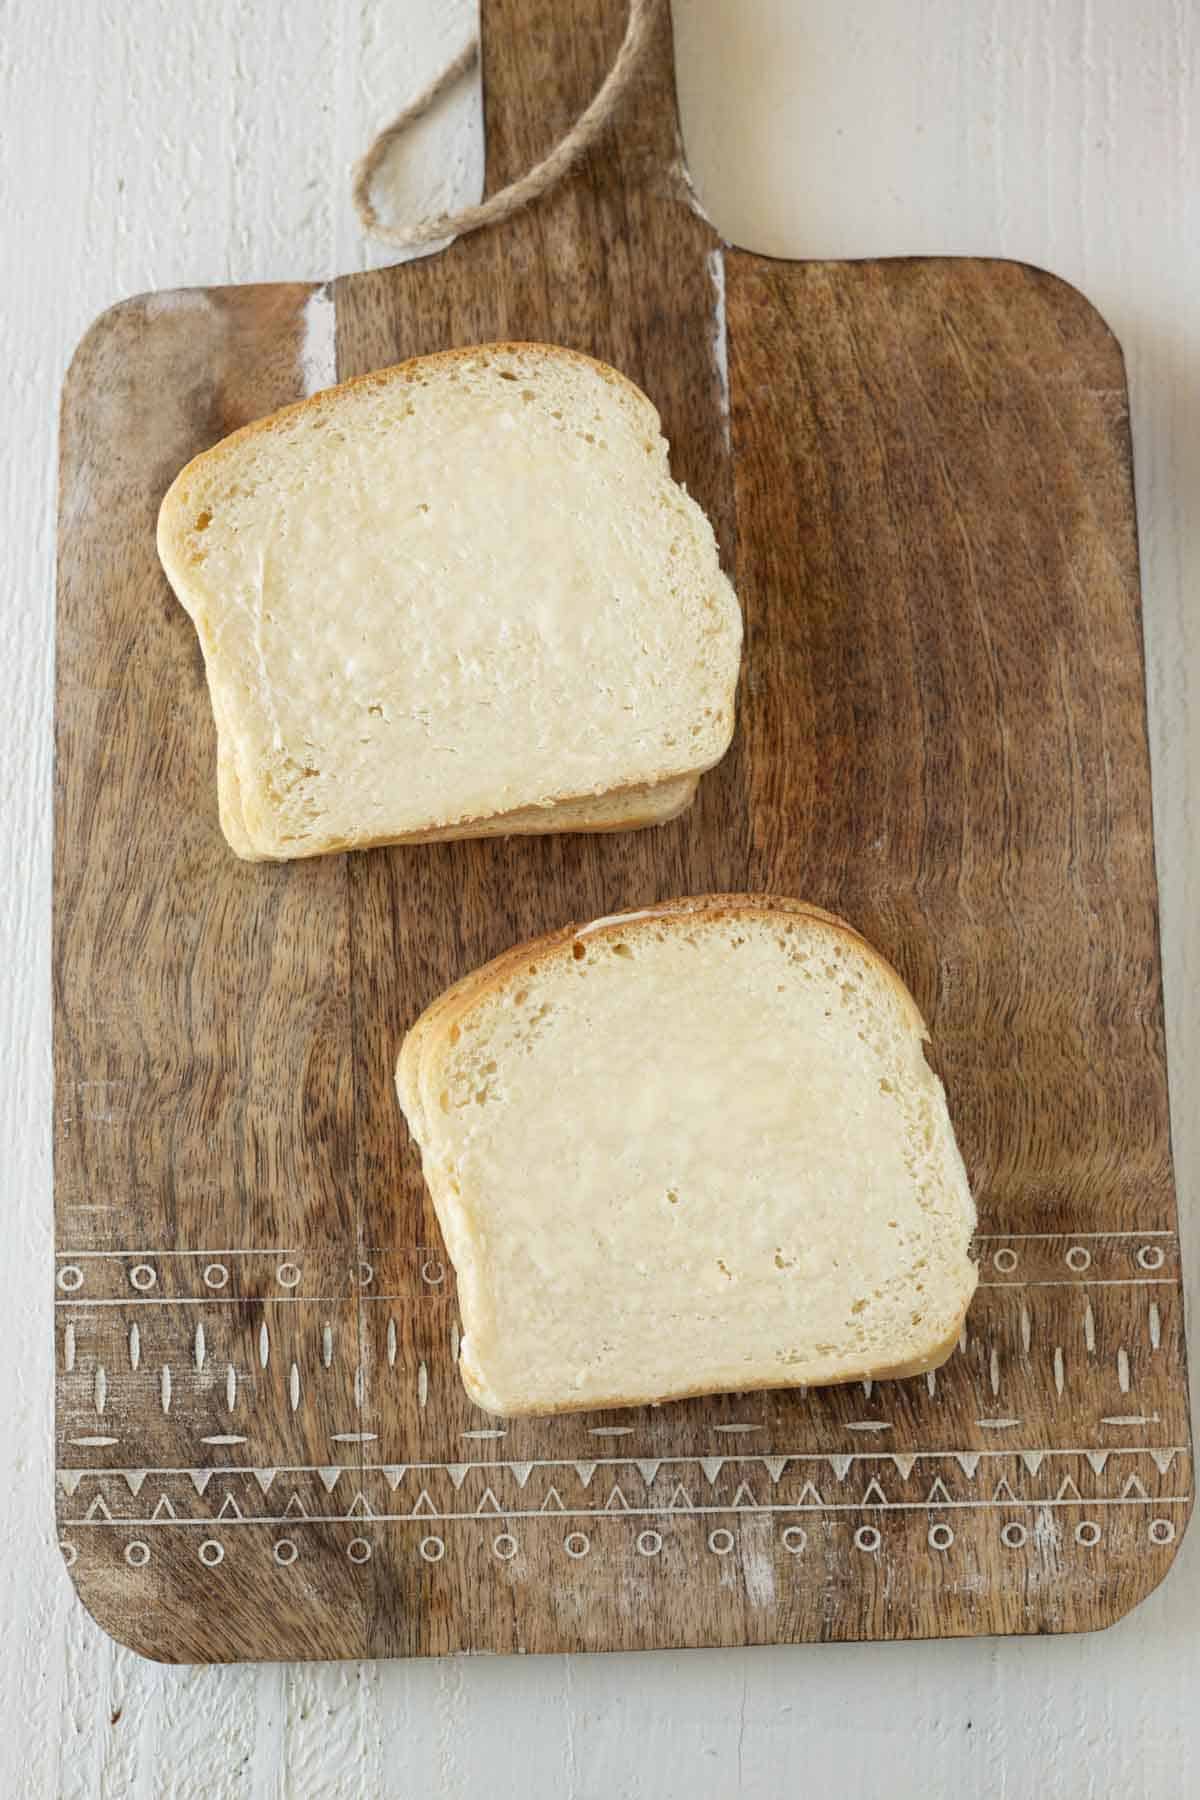
Step 1: Butter the bread! Butter the out side of each slice of bread. Set the buttered side of one slice of bread on a cutting board or in a skillet over medium-low heat.
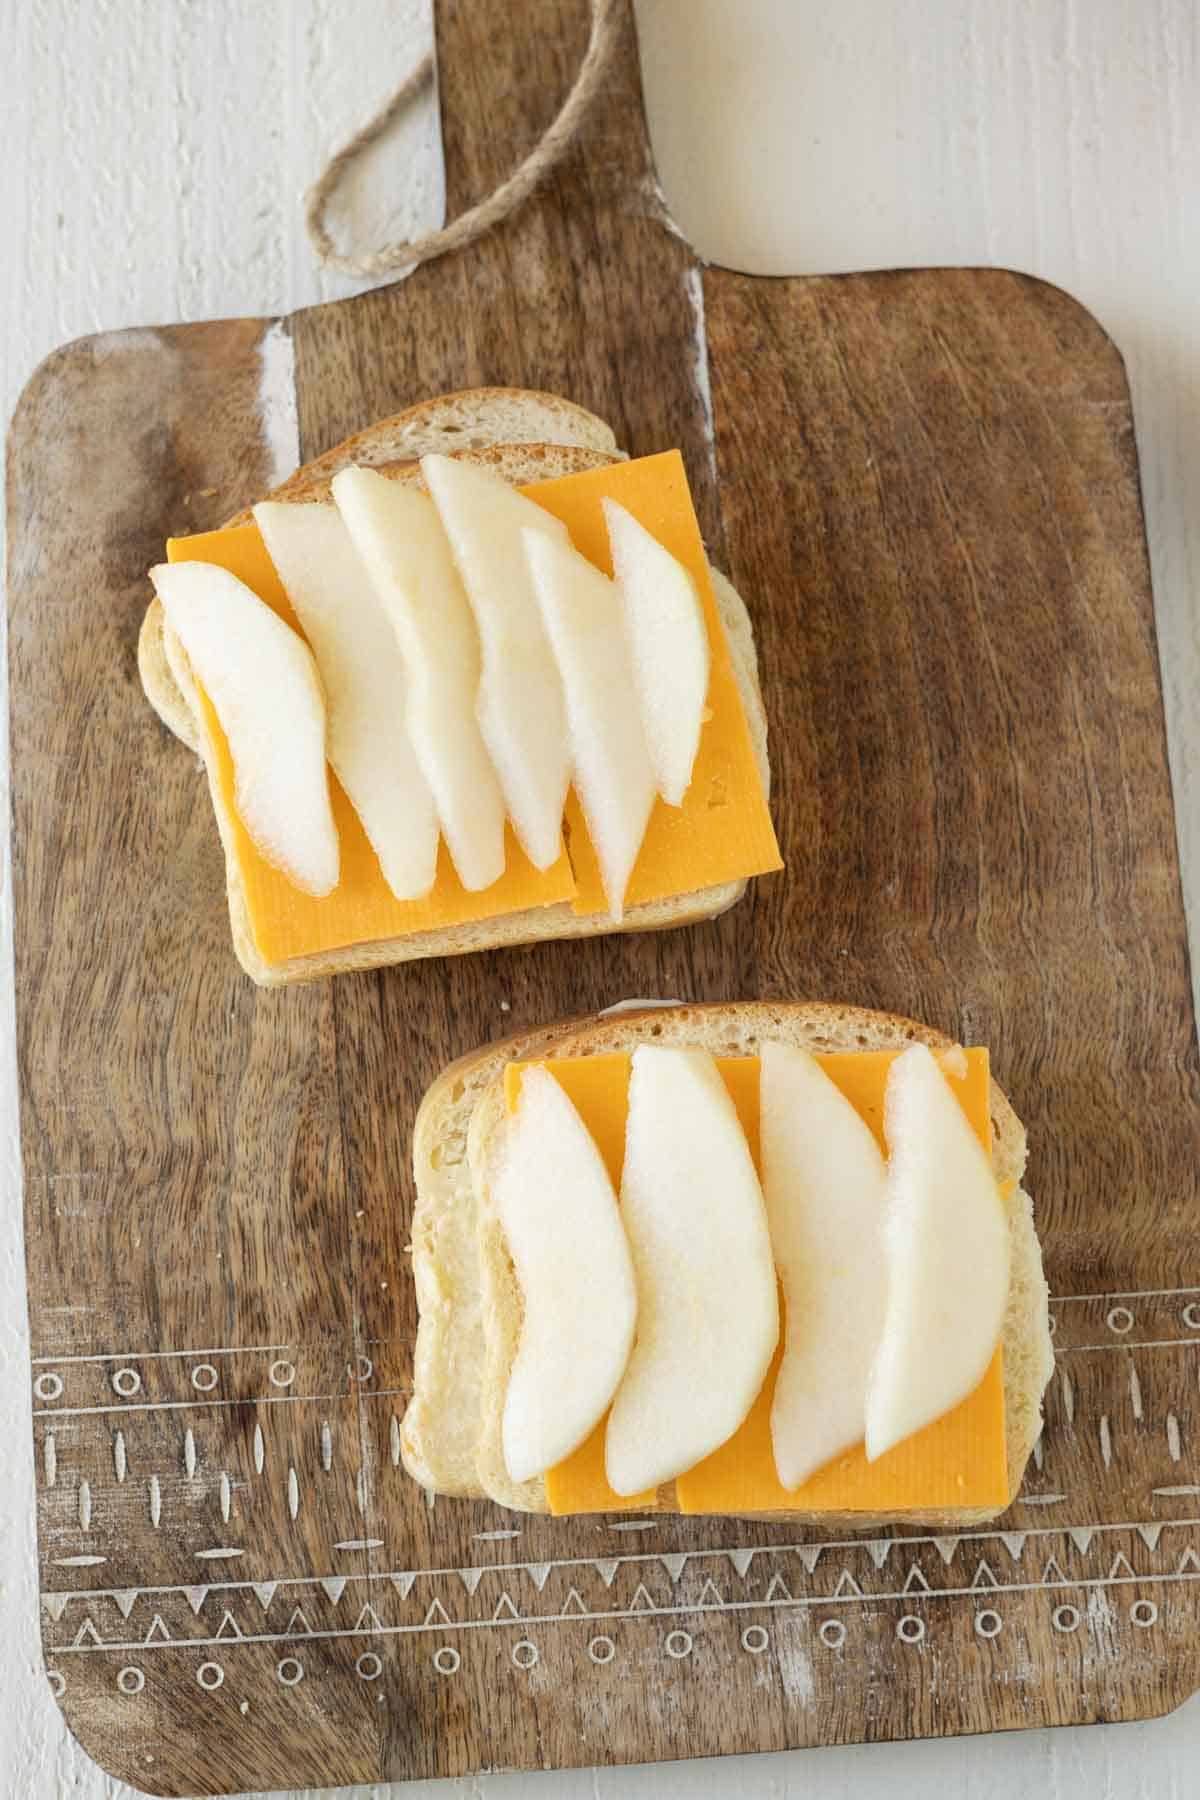
Step 2: Add the cheese and fruit! Add a layer of sliced or shredded cheese to the inside of bread slices. Add a layer of sliced peeled, cored, and sliced pear. Then add another layer of cheese. Top it with the other pieces of bread, buttered side out.
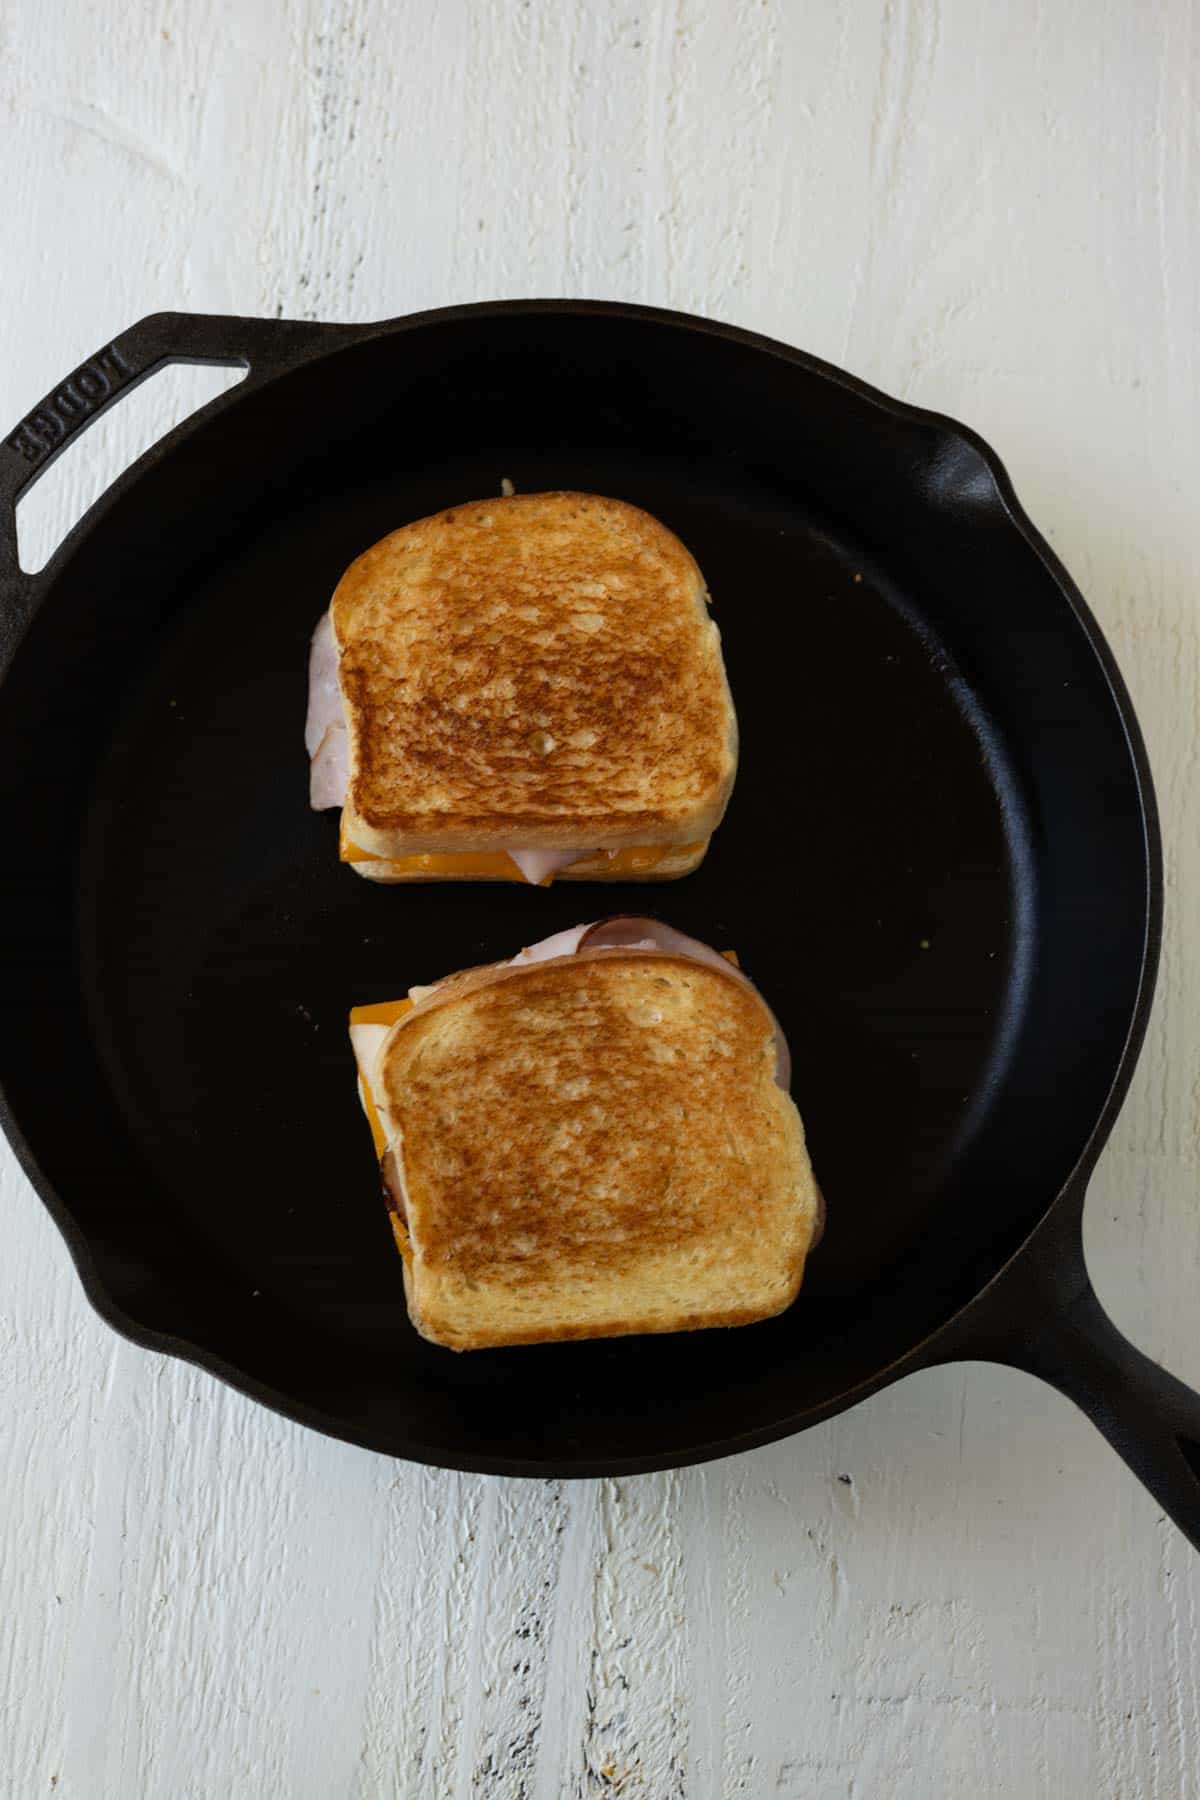
Step 3: Grill the sandwich! Grill the sandwich until the bread is toasted and golden brown. Flip and continue frying until both sides are toasty. Watch it carefully because the pear sandwich can burn quickly. Remove from heat and set on a cutting board to rest. Slice and serve!
Tips for Success
Although making a grilled cheese sandwich is really easy, I have a few tips and tricks to share with you! I cannot handle burned sandwiches…not even a little bit! Here’s what I’ve learned!
-
- Prep Ahead: Slice or grate cheese and core, slice, and peel the pear before starting to cook the sandwich. This helps make sure you have the insides ready to go before the outsides of the bread are overcooked.
-
- Skillet: Use a heavy-duty skillet. My favorite is my cast iron skillet because it distributes the heat evenly. Using a large skillet is an easy way to make lots of sandwiches at once. A griddle, or flat top also works well.
-
- Medium Heat: It’s really important to cook a cheese sandwich over medium heat, or even medium-low heat. A lower temperature is perfect for letting the cheese melt without burning the outside of the bread. If you cook it too hot you’ll have unmelted cheese and overdone bread.
Variations
- Fruit: If you don’t have sliced pears you can use sliced fresh apples instead.
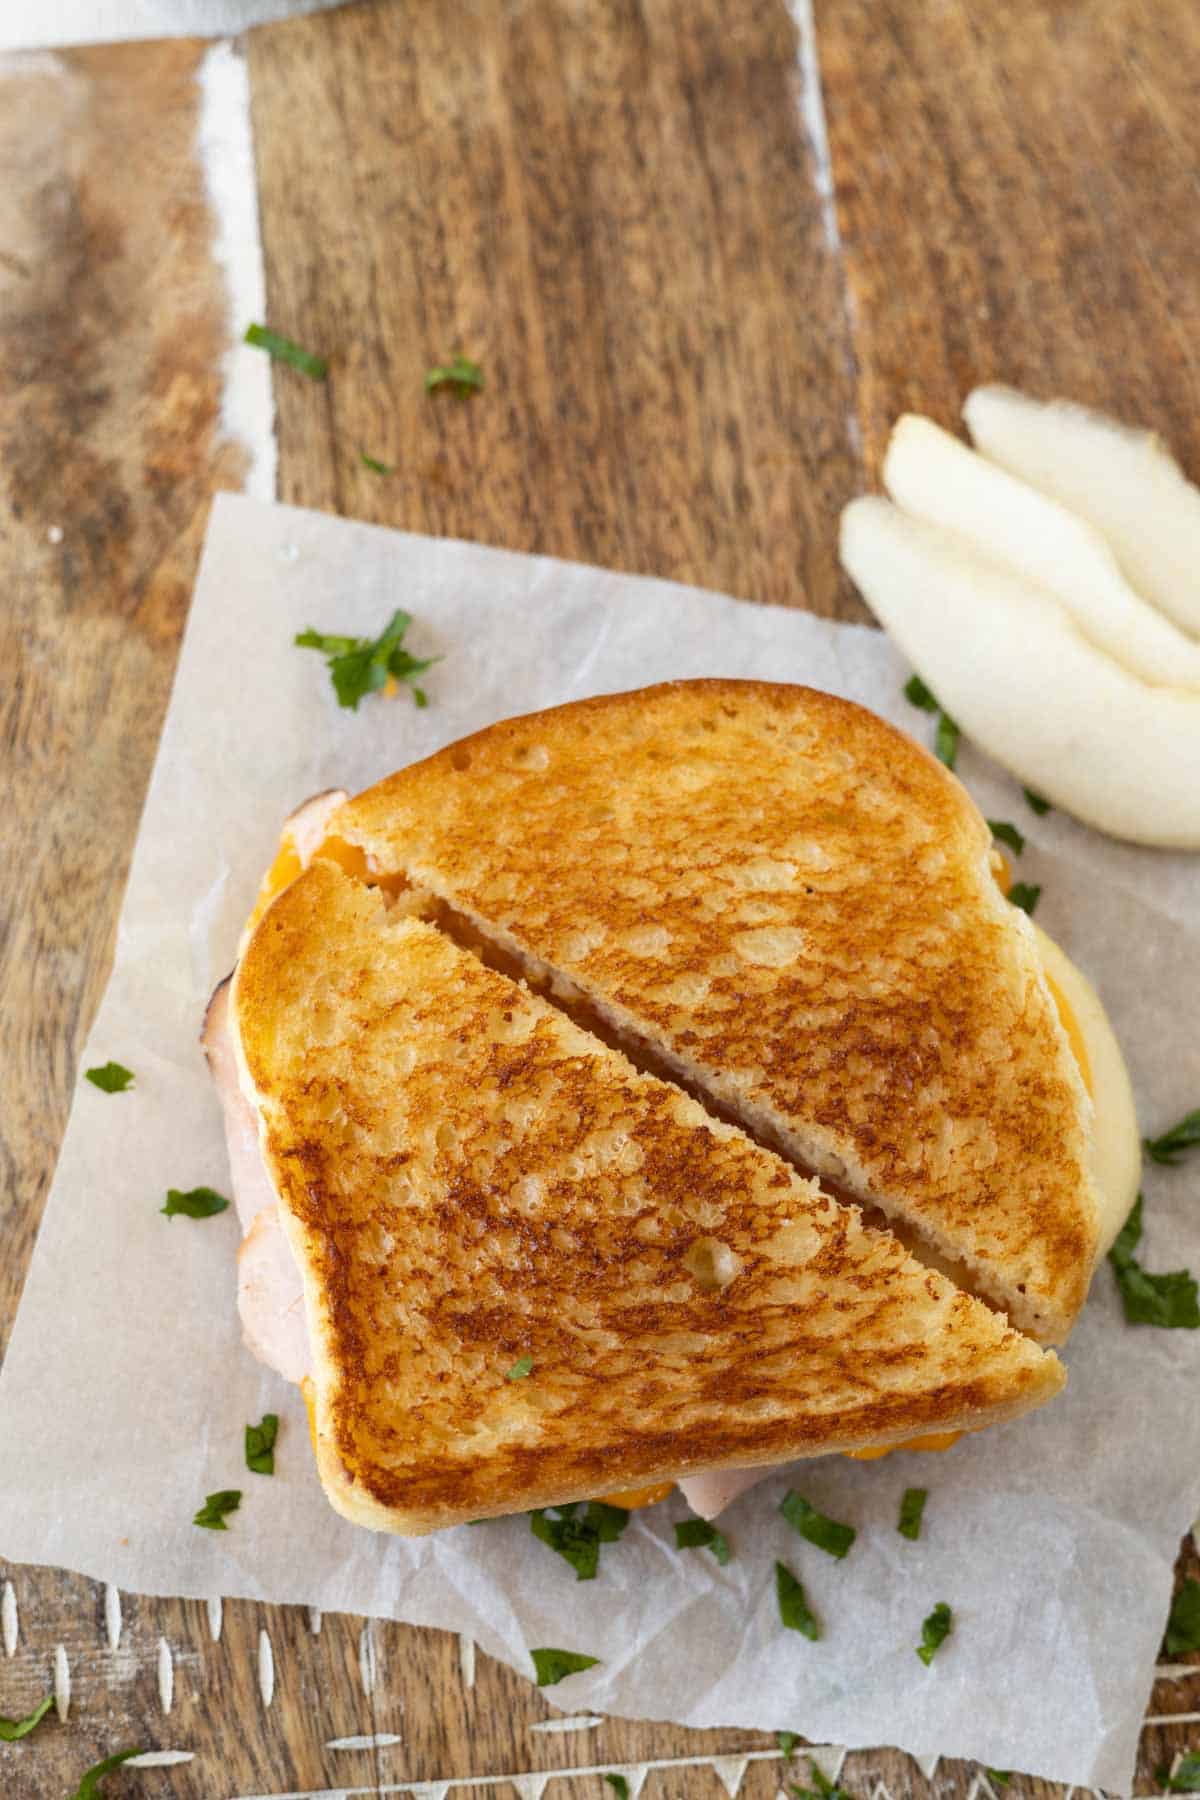
- Meat: Add a few slices of deli ham or turkey to the sandwich. Crispy bacon is fantastic too!
- Bread: Make this sandwich into a quesadilla by using flour tortillas instead of bread.
- Fresh Herbs: Sprinkle fresh parsley or thyme over the pears for added freshness.
- Caramelized Onions: Add caramelized onions to the pear layer.
- Serve with Jam: I LOVE dipping my pear sandwich in raspberry jam, or fig jam! It’s a bit like a Monty Cristo sandwich! YUM!
Storage Suggestions
I always make grilled cheese sandwiches right when I’m ready to eat them. But, if you’ve ever wondered, “Can I make a grilled cheese ahead of time” the answer is yes!
Remember, while these methods work well for reheating, the sandwich might not be as perfectly crispy as when it’s freshly made.
- Cooking the Sandwiches: First, cook your grilled cheese sandwiches as you normally would. Make sure they’re cooked to a slightly lighter golden brown than you would prefer since you’ll be reheating them later.
- Cooling: Allow the cooked sandwiches to cool down to room temperature. This will help prevent them from becoming soggy during storage.
- Wrapping: Individually wrap each sandwich in aluminum foil or parchment paper. This will help keep the sandwiches intact and prevent them from sticking to each other.
- Storage: Place the wrapped sandwiches in an airtight container or a resealable plastic bag. You can also layer them with sheets of wax paper to prevent sticking. Store the container in the refrigerator.
- Reheating: When you’re ready to enjoy your pre-made grilled cheese sandwiches, you have a few options for reheating:
- Oven: Preheat your oven to around 350°F (175°C). Unwrap the sandwich and place it on a baking sheet. Reheat for about 10-15 minutes, or until the cheese is melted and the bread is crispy.
- Toaster Oven: Similar to the oven method, you can use a toaster oven to reheat the sandwich. Keep an eye on it to prevent overcooking.
- Skillet: For a quick reheating option, you can unwrap the sandwich and place it in a skillet over medium-low heat. Cook on each side for a few minutes until the cheese is melted and the bread is crispy.
FAQs
It’s a personal preference. Some people prefer the added texture and nutrients from the pear’s skin, while others might find it too tough. Feel free to peel the pear if you prefer
Make sure the pear slices are not overly juicy. Pat them dry with a paper towel before adding them to the sandwich. You can also sprinkle a bit of salt on the pear slices to draw out excess moisture.
While a toaster can be used to make a basic grilled cheese, adding pear might make it a bit messier. It’s better to use a skillet, griddle, or oven for sandwiches with pear to ensure even cooking.
The pear slices should be softened but not mushy, and the cheese should be melted and gooey. The bread should be golden brown and crispy.
More Easy Sandwich Recipes
There are so many fun ways to change up a grilled cheese sandwich and they’re always a hit!
- Parmesan Crusted Grilled Cheese
- Dill Pickle Grilled Cheese
- Spinach Grilled Cheese
- Grilled Egg and Cheese Breakfast Sandwiches
- Hot Ham and Cheese Sandwiches
- Grilled Turkey Sandwich

Pear Grilled Cheese
Ingredients
- 2 slices bread
- 2 teaspoons butter
- 2 slices cheese
- 1/2 pear
Instructions
- Core and slice the pear. (Peel if desired).
- Butter the outsides of both slices of the bread.
- Layer cheese, pear slices, and another slice of cheese on the unbuttered side of one slice of bread. Add the second slice of bread with the buttered side facing out. Layering the pear between two slices of cheese helps hold the pear inside the sandwich.
- Add the sandwich to the skillet while it heats over medium heat. Grill the sandwich until it's golden brown on the bottom. Flip the sandwich and grill until the second side is golden brown.
- Remove the grilled cheese sandwich from the skillet and let rest for about one minute. Cut in half. Serve.


Elaine Duckett says
I love that you slice your own cheese and you don’t use that pre packaged stuff the rest of us get from the store.
There seems to be a big difference between the cheese non dairy people buy and the cheese dairy farmers order and have delivered. Must be one of the many perks dairy farmers get to enjoy. Your cheese always tastes better and seems to melt better too,.
Once when my Mom was making homemade strawberry jam, I made grilled cheese sandwiches and dunked them in the foam she skimmed off of the jam. I ate so much strawberry jam I broke out in the hives, so be careful. But even as a little girl, just a few years ago, I loved the combination of grilled cheese and jam. Sometimes I just spread the toasted sandwich with jam just like I would a plain piece of toast. Toast is one of my all time favorite comfort foods.
I’ve never had a ham “samish” with fresh pear, but I am going to try it sooner than later. Dad will love it. Thanks for sharing.