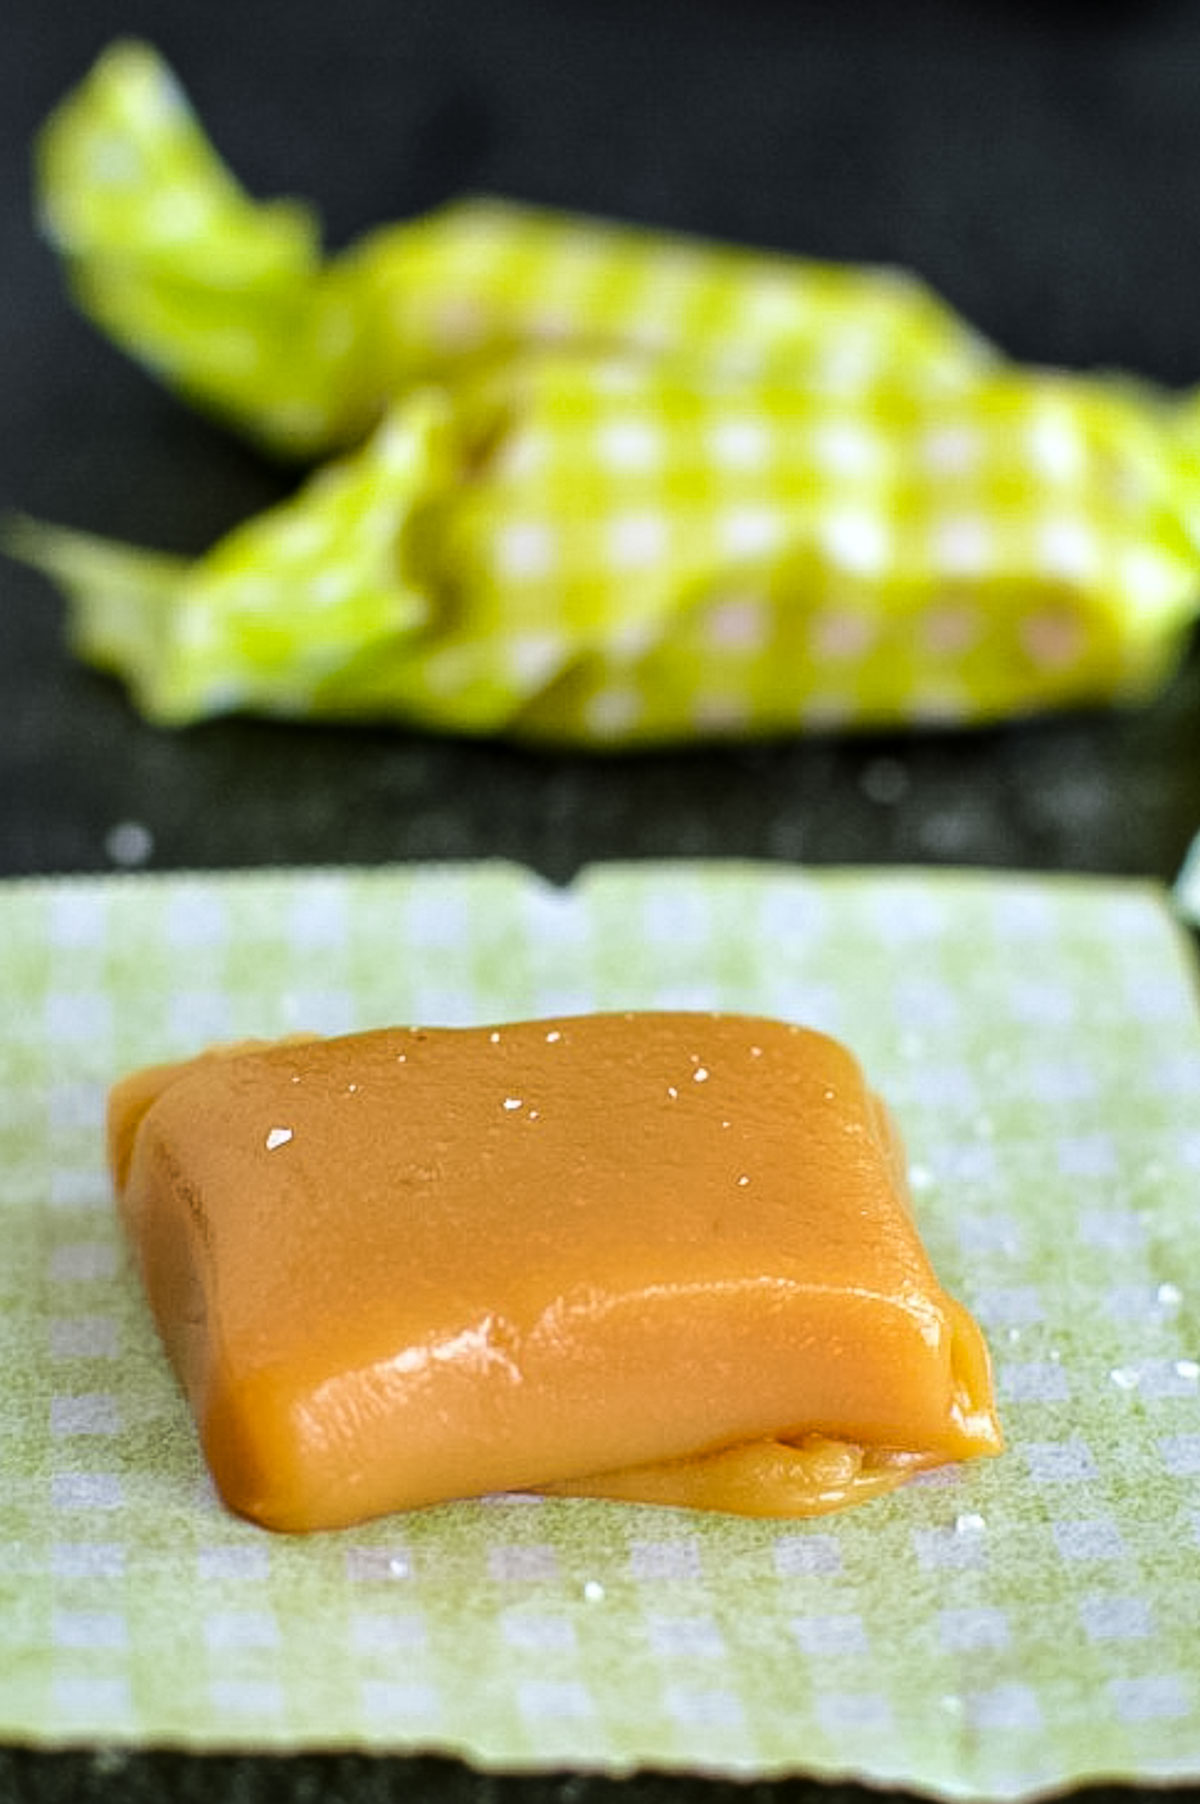
Perfect Microwave Caramel is the softest, creamiest, and easiest caramels you will ever make! No constant stirring, no candy thermometer, no-fuss recipe. And they are soft, chewy, buttery, and they absolutely melt in your mouth!
This recipe can be made in about 15 minutes!

When I was a little girl I always wanted to try making homemade caramel candy on the stovetop. Do you know the kind where you boil ingredients until they hit a certain temperature on a candy thermometer? My mom wouldn’t ever let me try it. She said it was too much work.
Well, I’ve lived on my own for quite a while now and I still haven’t tried it because I found this MICROWAVE caramel recipe and it’s so EASY and turns out perfectly every single time…no candy thermometer needed!
What? Caramel from condensed milk in the microwave! It sounds too good to be true, but I promise it works! I think it’s actually better than the old-fashioned recipes! I love caramel, but not when it’s so hard I have to chew it forever. This is soft and perfect!
Why This Recipe Works:
- Quick and Easy! I’m in love with microwave recipes! This is a perfect recipe to let the kids help with! They are going to need a little supervision because the bowl gets really hot!
- Simple ingredients! You probably already have everything on hand already.
- No special equipment! If you’ve got a microwave, bowl, spatula, whisk, and pan you’re set!
- Fool-proof! This no fuss recipe always turns out perfect!
Ingredients Needed:
- Butter: Unsalted is recommended because it won’t splatter in the microwave. However, I always buy salted and use it for this recipe too. It will still work great. I cover my bowl with wax paper to contain the splatters.
- Brown Sugar
- Light Corn Syrup
- Sweetened Condensed Milk -this is not the same as evaporated milk. It’s thicker and sweeter.
- Vanilla
HOW TO MAKE CARAMELS FROM CONDENSED MILK:
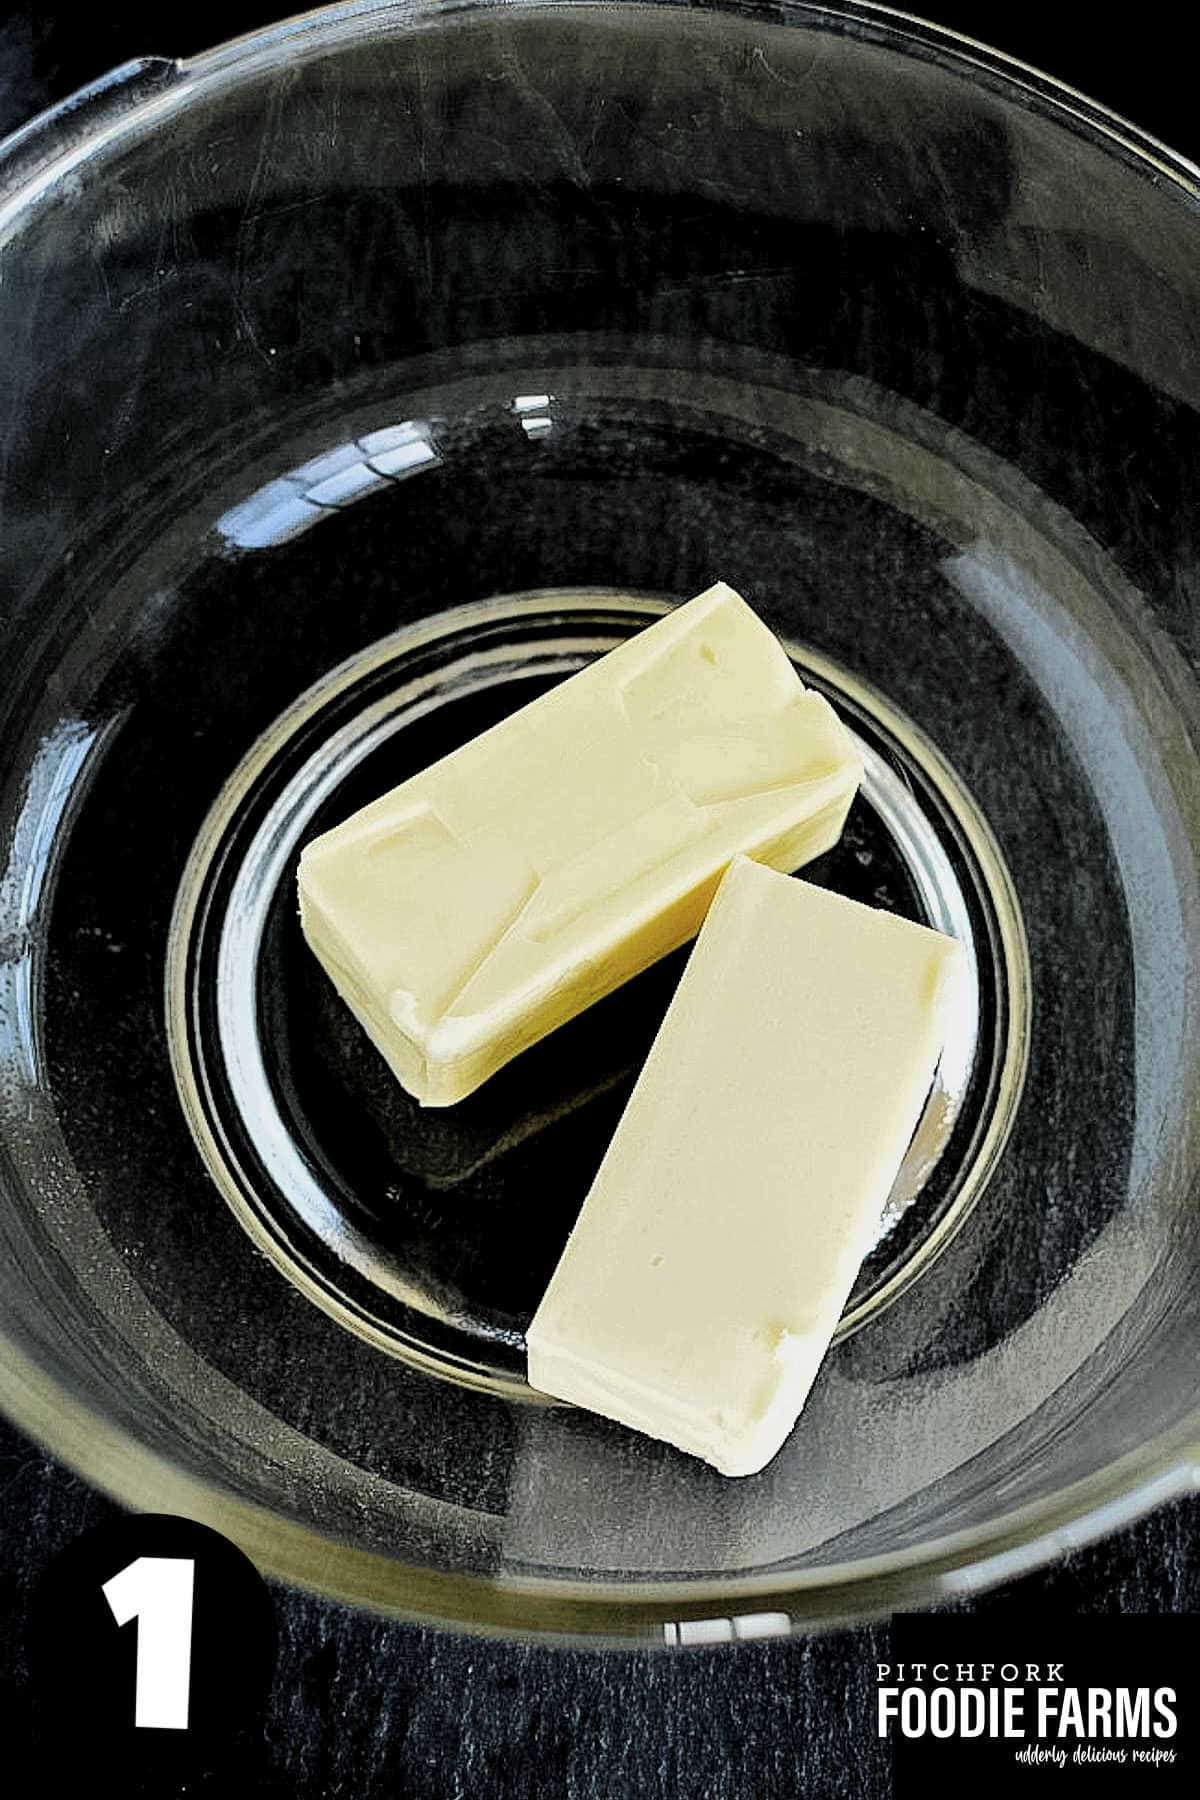
STEP 1: Melt butter in the microwave. Cover the bowl with wax paper to keep it from splattering.
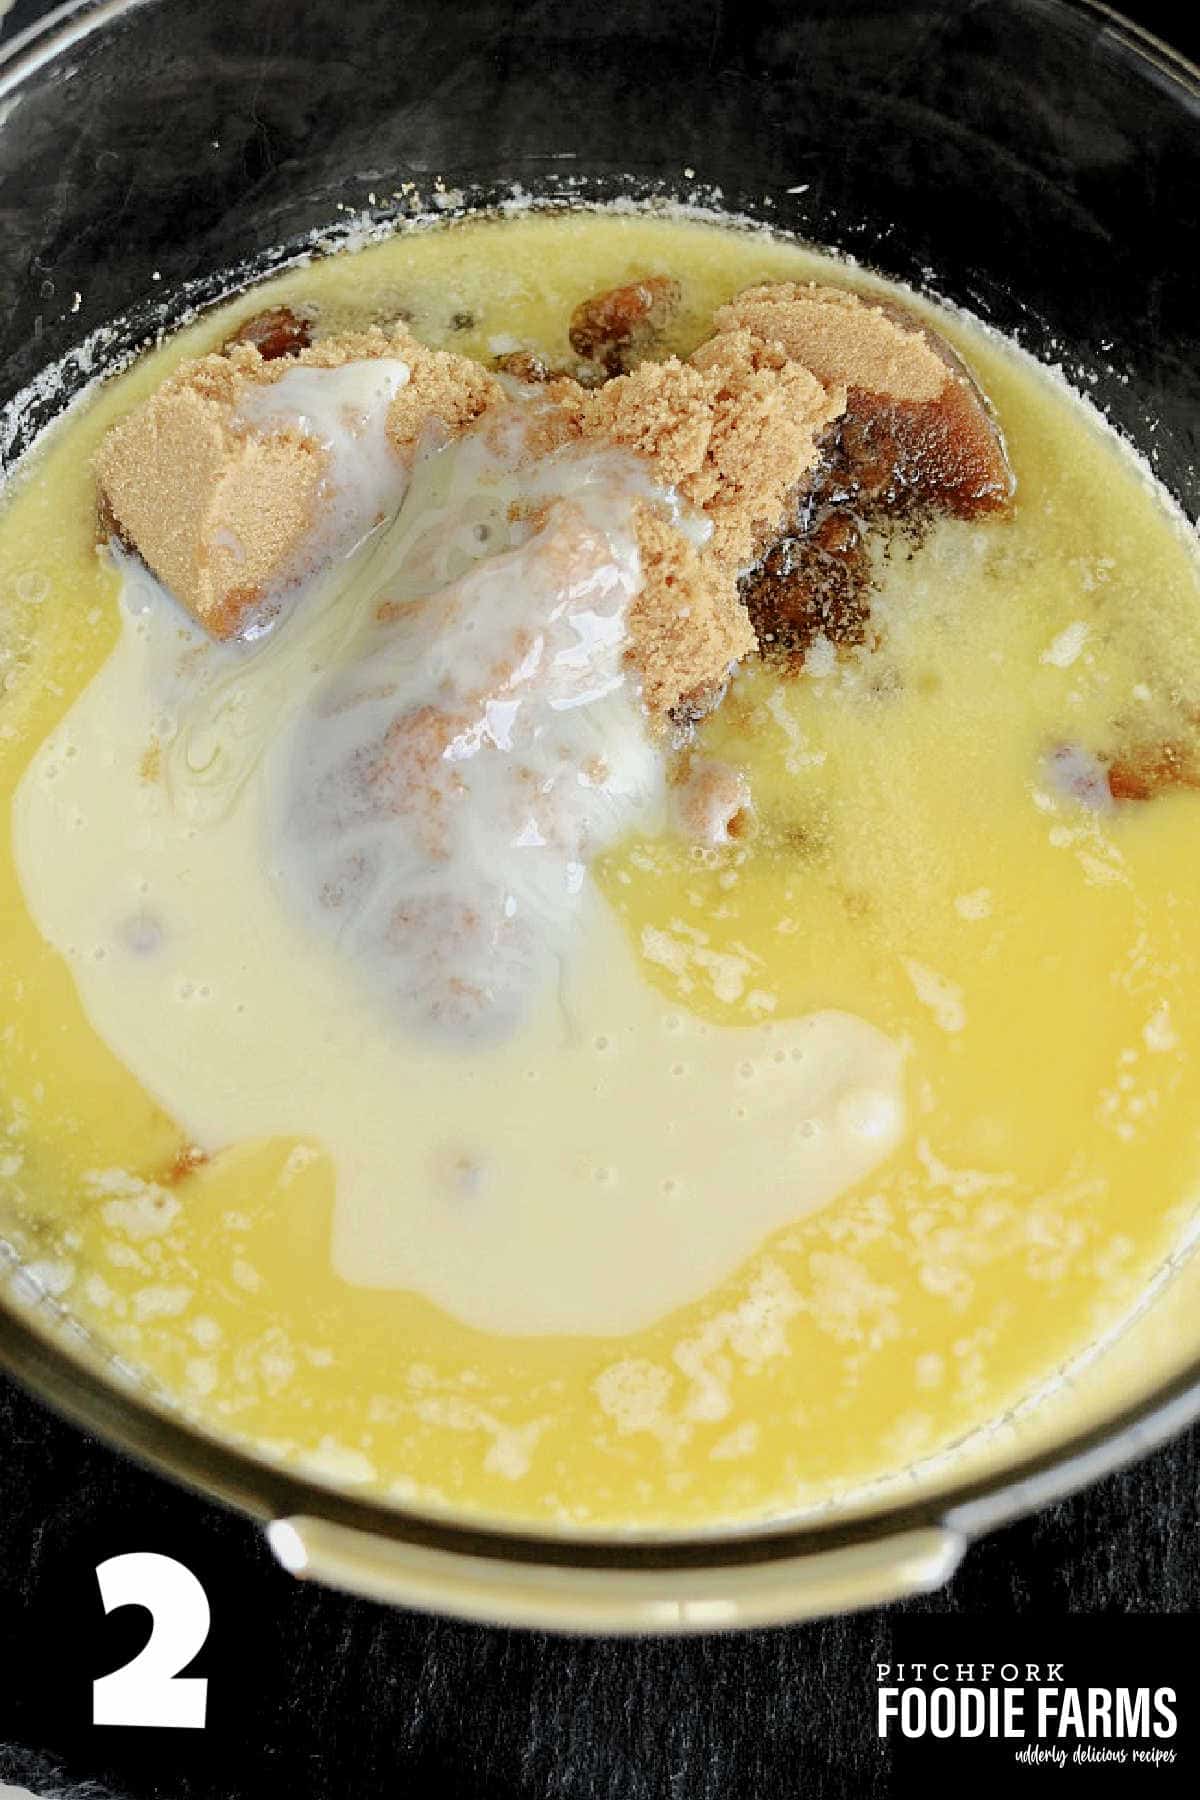
STEP 2: Add brown sugar, corn syrup, and sweetened condensed milk to the melted butter. Stir. Microwave on full power for 4 minutes. Using hot pads, carefully remove the bowl from the microwave and stir. I like using a wooden spoon or spatula. Be sure to scrape the edges and the bottom of the bowl.

STEP 3: Cook the caramel mixture in the microwave (this is the 2nd cooking time) on full power for 4 minutes. Carefully remove the bowl from the microwave and stir again.
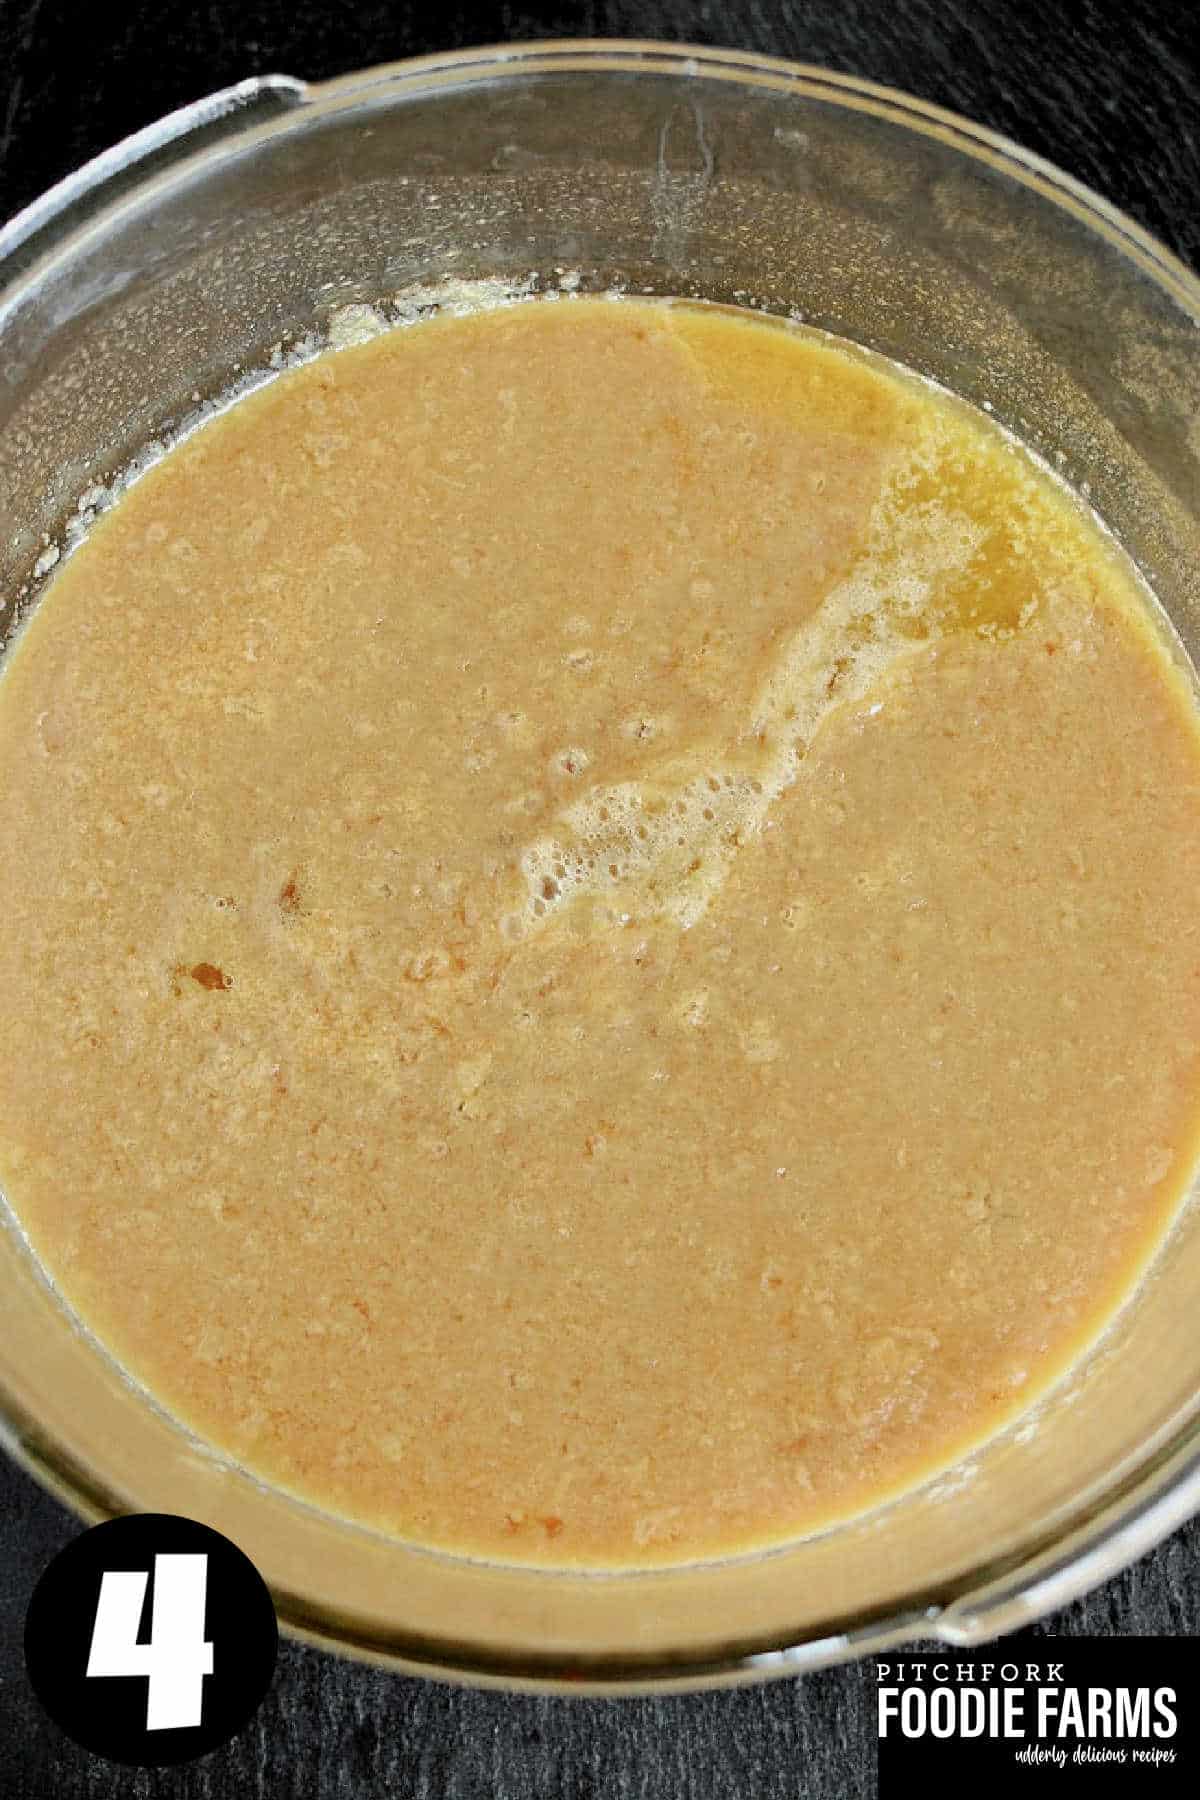
STEP 4: Cook the caramel (this is the 3rd cooking time) on full power for 4 minutes. Remove from the microwave and stir.
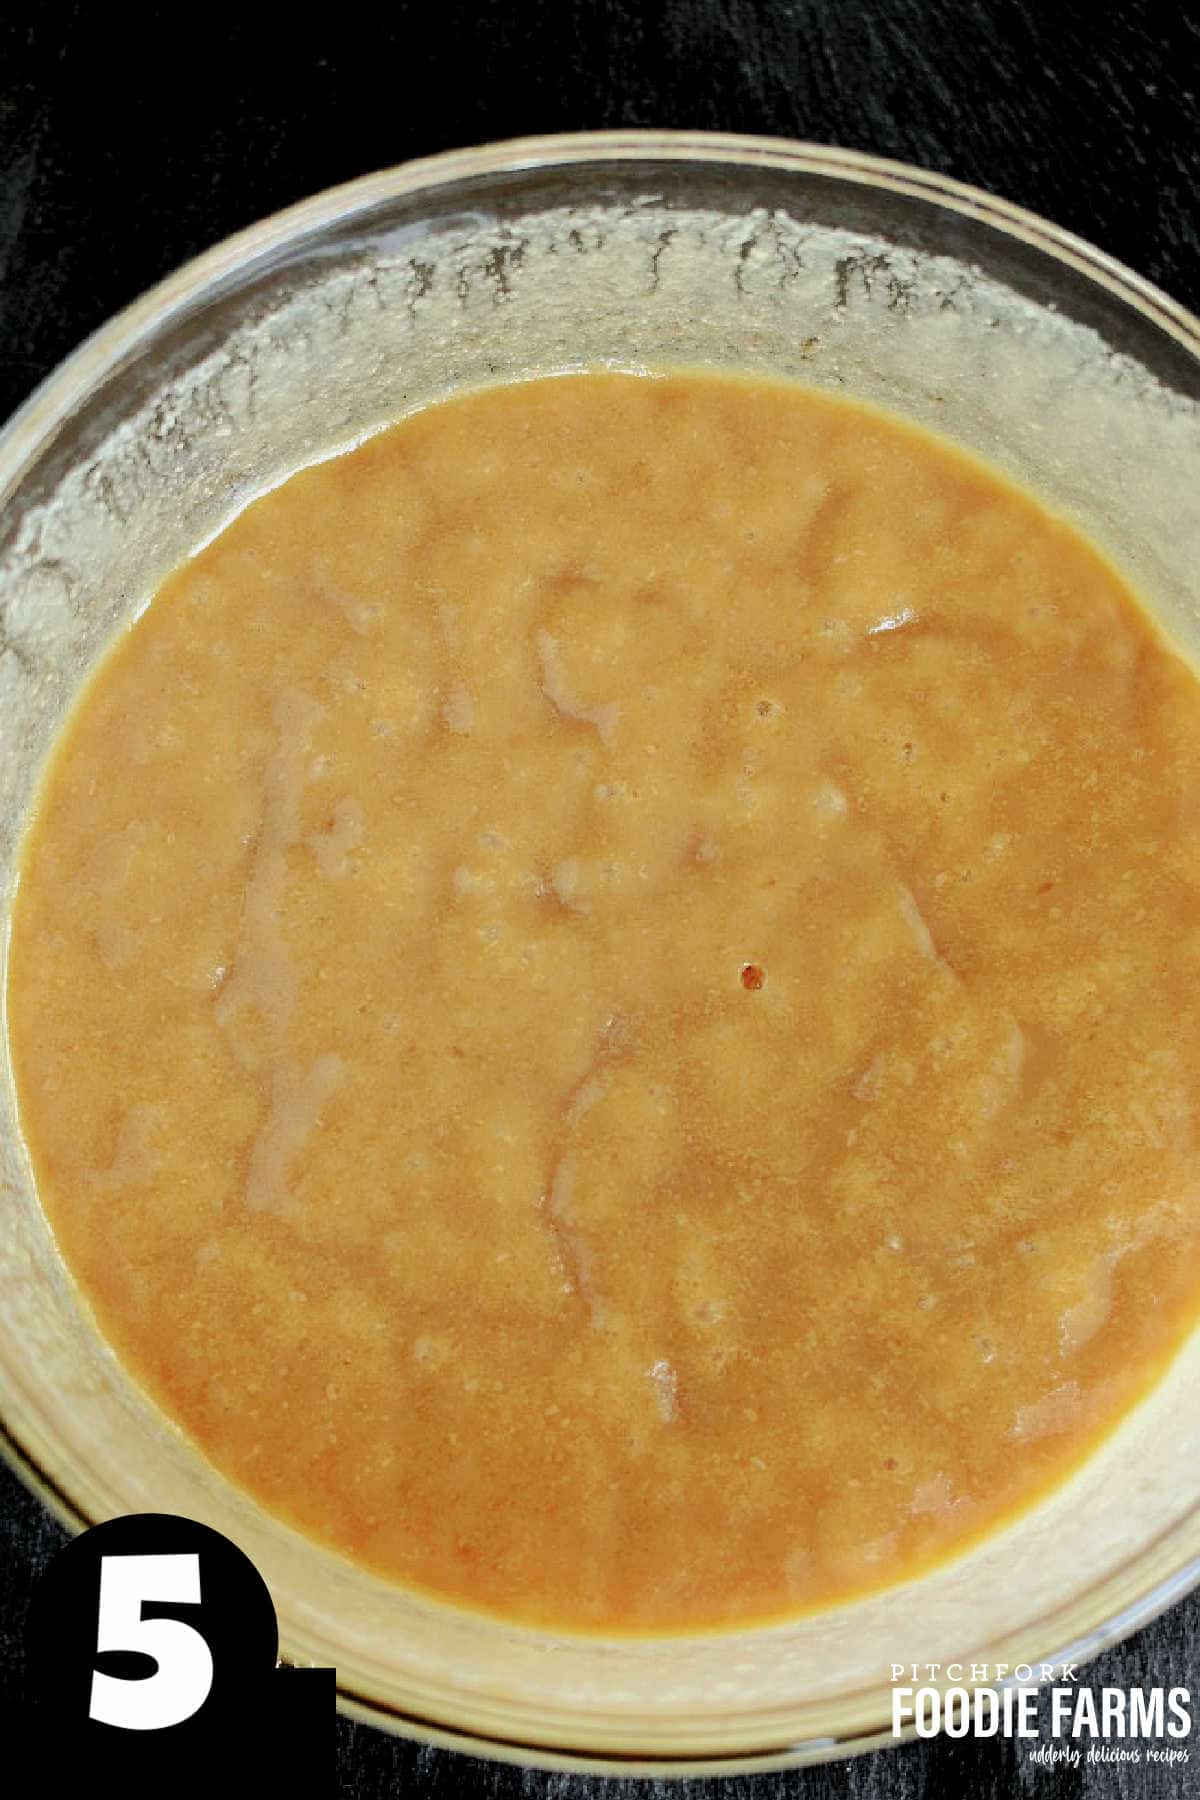
STEP 5: Add vanilla and stir again. NOTE: If you think your microwave is cooking too hot, too quickly, shorten the cooking time by a minute and move to step 7.
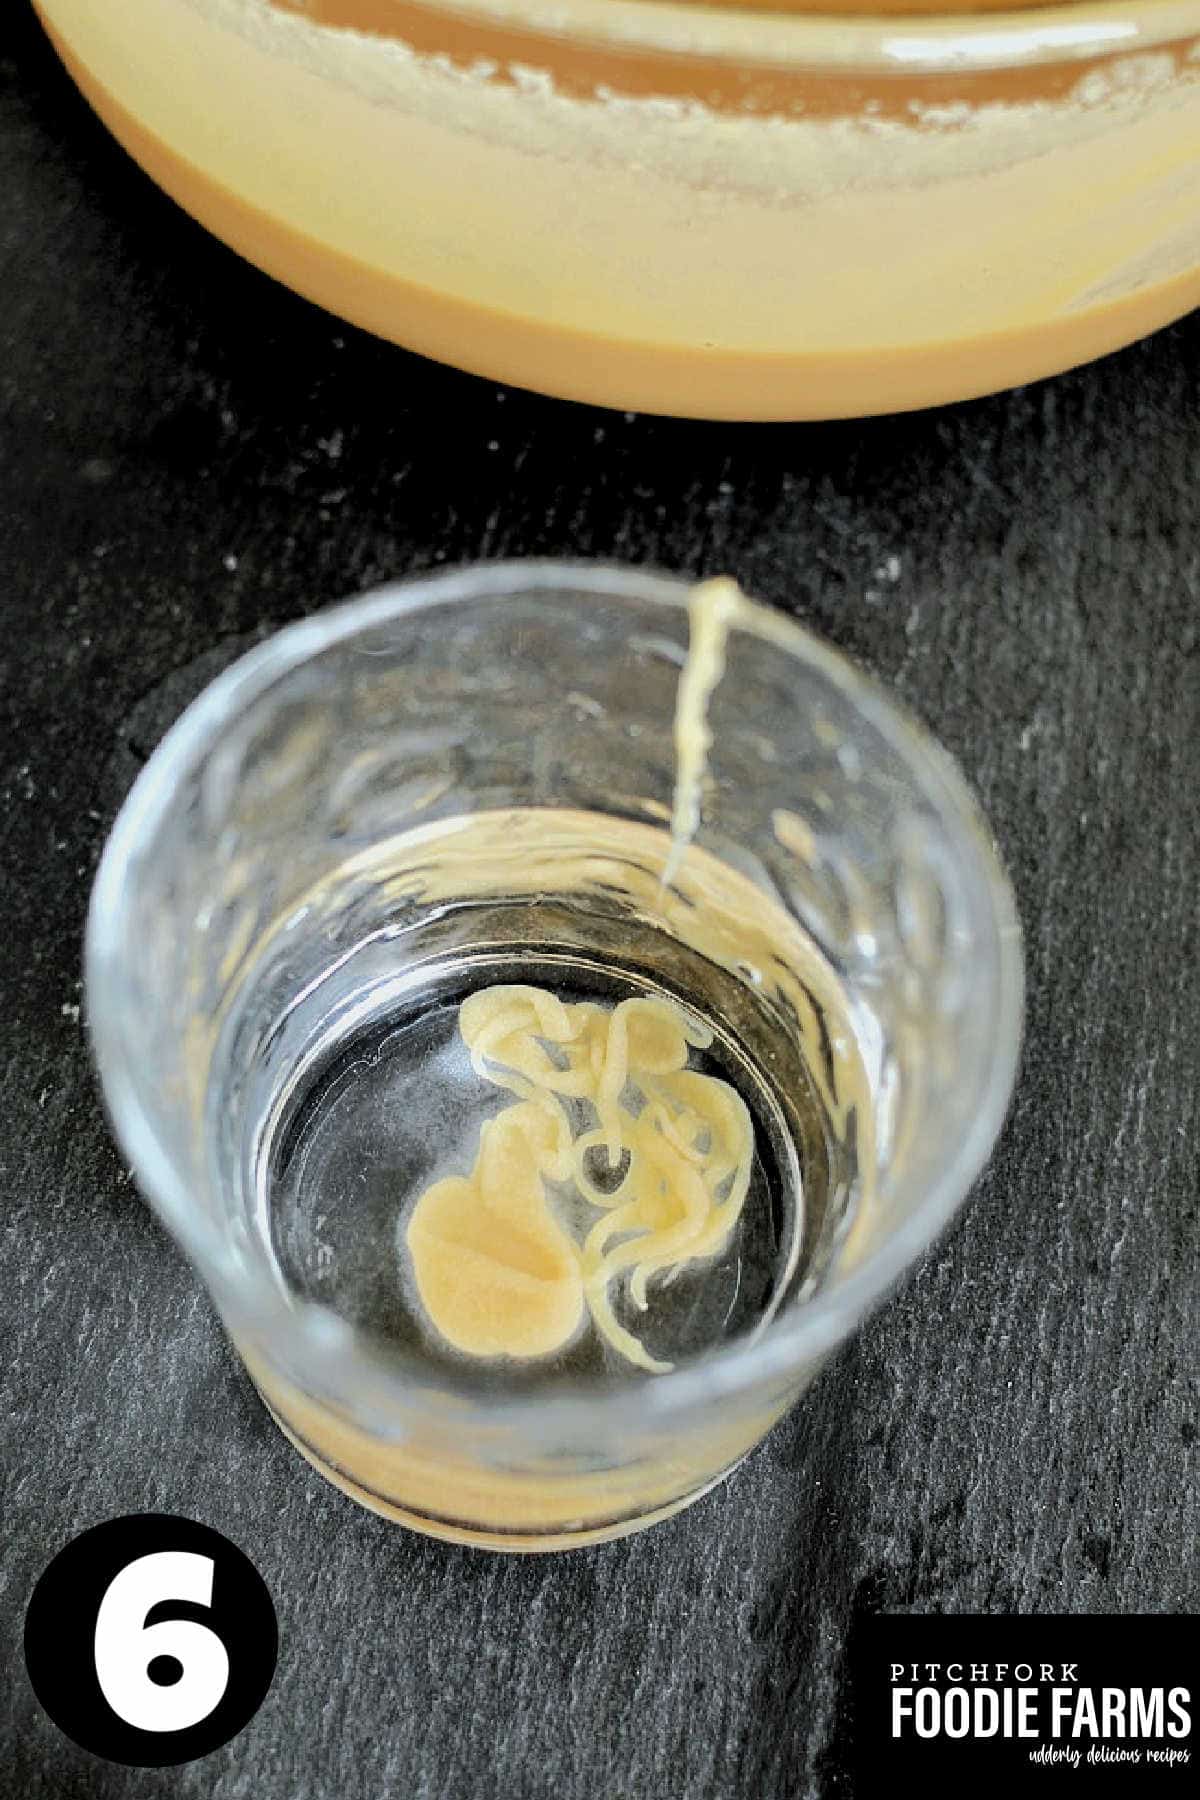
STEP 6: Check for doneness by dropping a spoonful of caramel sauce into a cup of ice water.

STEP 7: After a few seconds, roll the caramel in a ball. It should be soft and pliable. OR, you can use a candy thermometer to check for doneness. The candy should be between 238-242 degrees. If the caramel isn’t quite firm enough return to the microwave and cook in 1-minute intervals until it’s done.
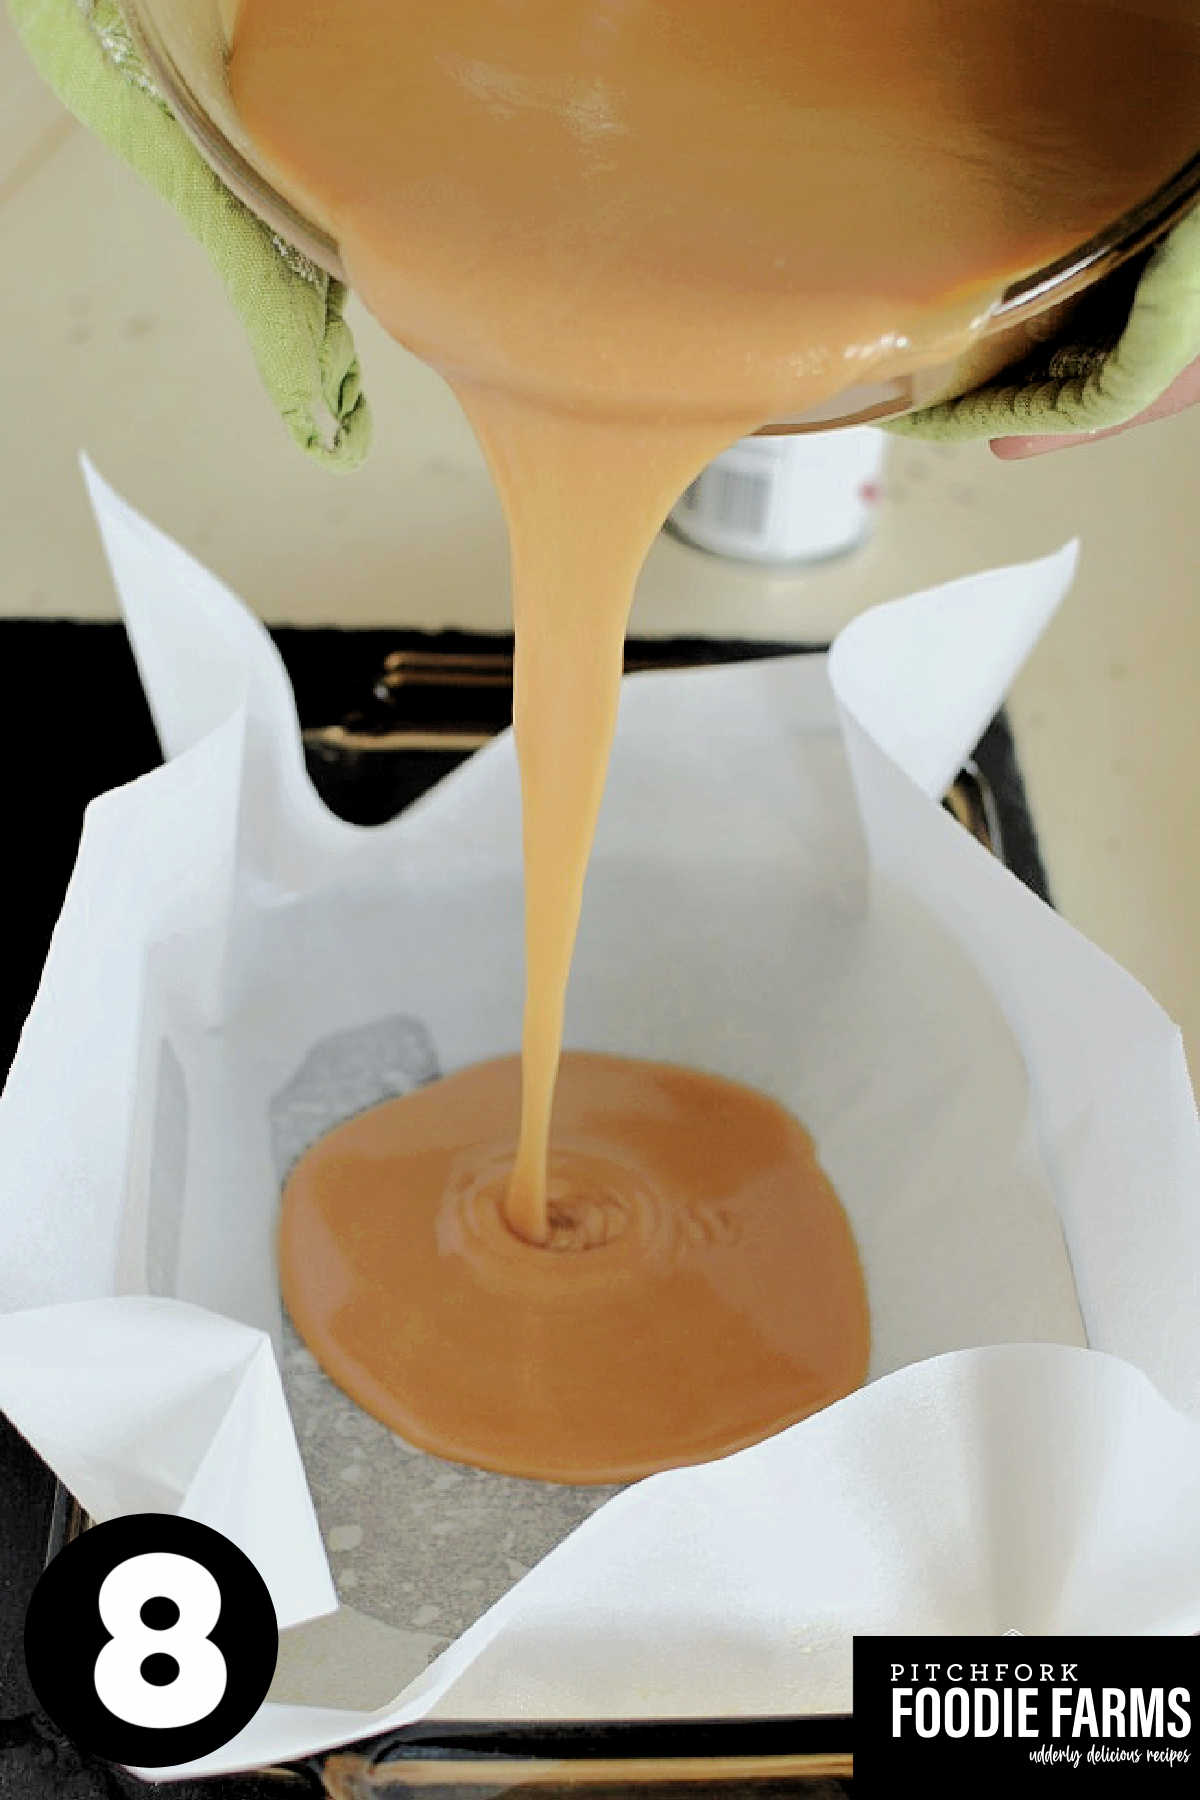
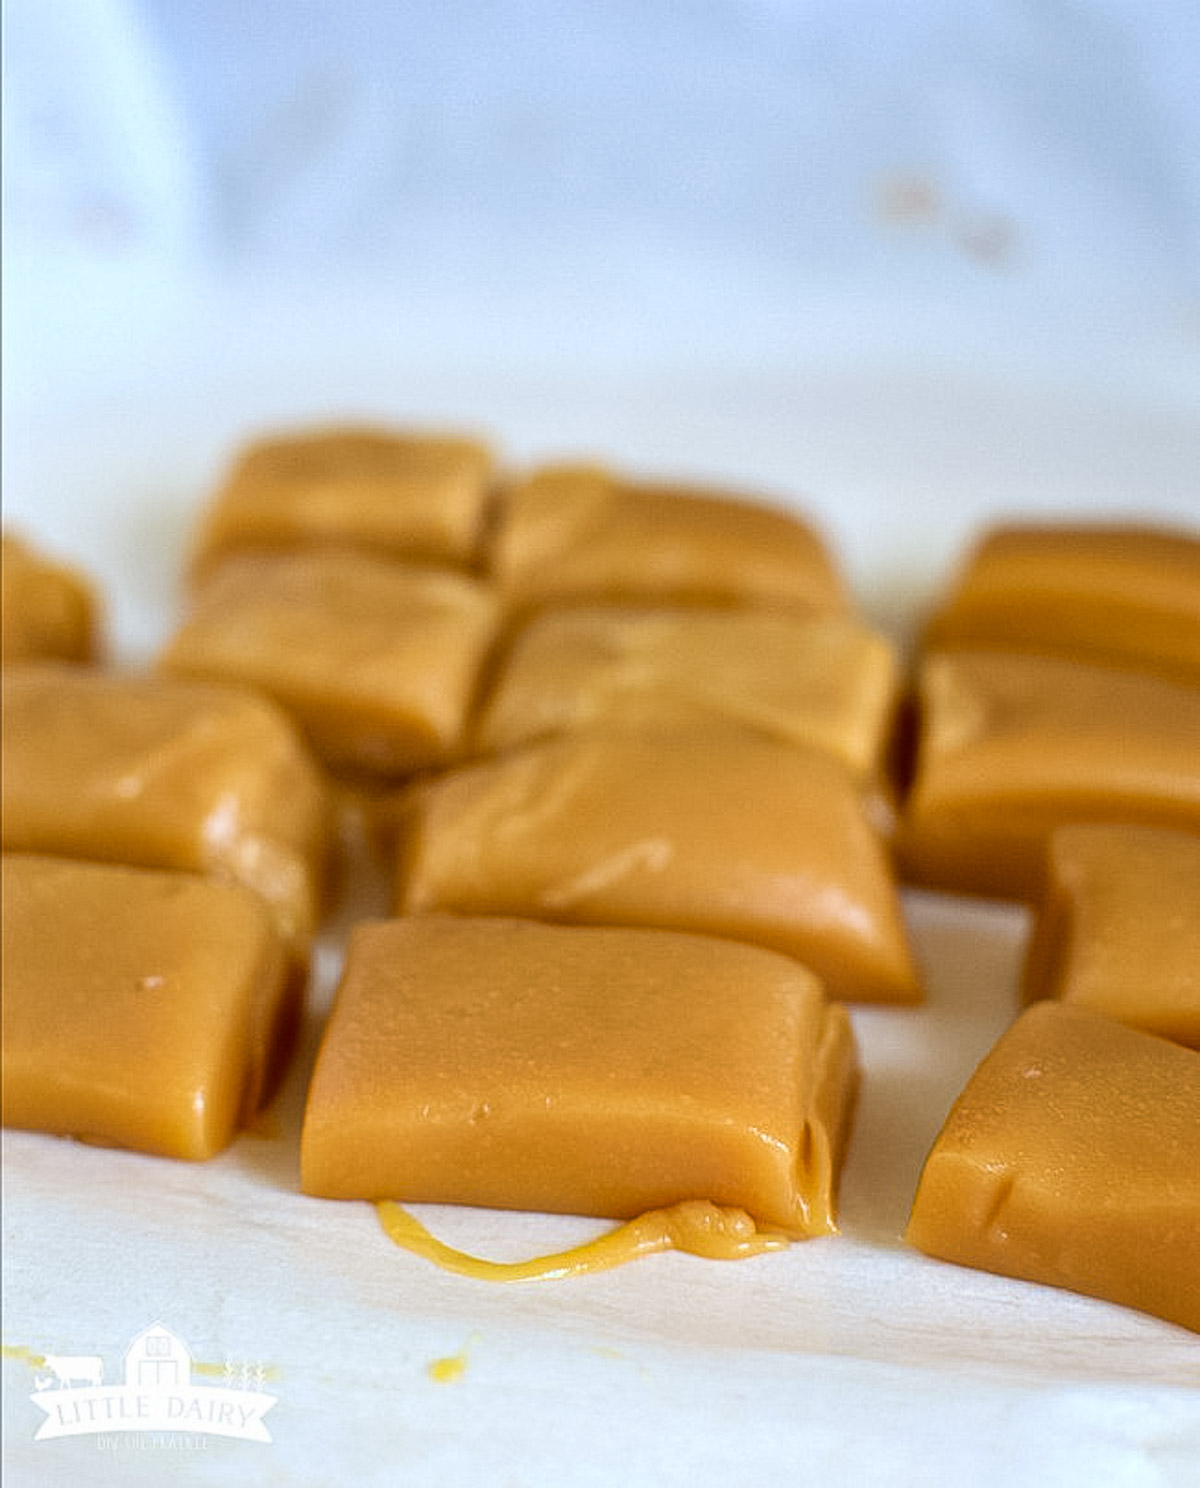
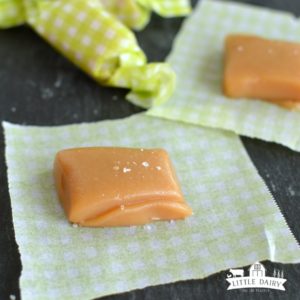
STEP 8: Pour caramel into a parchment-lined or buttered baking dish. For thinner caramels pour into a 9″ x 12″ pan. For thicker caramel pour into a 9″ x 9″ pan. Let sit at room temperature to cool for several hours, or in the fridge for 2 hours. Cut into pieces and wrap in candy wrappers.
This really is an easy recipe and really quite foolproof! But there are a few things that will make it easier and perfect every single time.
- The pan – Butter the pan before starting. Once the caramel has finished cooking it will start to set up quickly. You can also line the dish with parchment paper or aluminum foil.
- Microwave This recipe is made using an 1100 wattage microwave. Wattages vary and that means cook times vary too. You might need to adjust the cooking time depending on your microwave. Older microwaves tend to cook slower and lower than newer models. If you think the caramel is getting to done, back of the cooking time by a minute or two, test for doneness. If it’s not quite done cook at 1 minute intervals until it’s done.
- How do I know if my caramel is done? You want to cook it to the soft-ball stage. How do I know when the caramel is at the softball stage? Do a softball test by dropping a small ball of caramel into a glass of water. Check to see how soft the caramel. is. The caramel should hold together in a ball and be pretty soft. Determine if the caramel is the consistency you would like. If caramel is a little too soft still microwave for another 1-2 minutes. I microwaved mine for 1 more minute and it still produced a very soft caramel.
Recipe FAQ’s:
Wrap caramels in individual wrappers then store them in an airtight bag or container to keep them from moisture. They can be stored at room temperature, preferably in a cool, dark, dry place. Although they don’t need to be stored in the fridge, you can store them there.
It will last 2-3 weeks. Be sure to follow the storage tips above.
Yes! Add extracts and flavorings after cooking. Chopped nuts or dried fruits may be added after cooking. You can also drizzle with chocolate or dip in chocolate. Coarse sea salt is also delicious sprinkled on top before the caramel cools.
Other Microwave Candy Recipes:
It doesn’t get any easier than making candy in the microwave! These recipes are quick and easy!
- Microwave Peanut Brittle – light and airy
- S’mores Energy Bites – healthy
- Microwave Fudge – add cinnamon bears for fun!
- Caramel Bugles – insanely addicting
- Graham Cracker Toffee Bark – easiest chocolate bark
- Peanut Butter Popcorn – with white chocolate
- Other Easy Candy Recipes
I love it when you make my recipes and give me feedback! If you have a minute please comment below and leave a star ranking! Also, be sure to follow me on Pinterest, Instagram, and Facebook!
Perfect Microwave Caramels
Ingredients
- 1 cup butter
- 2 1/2 cup brown sugar packed
- 1 cup light corn syrup
- 14 ounces sweetened condensed milk
- 1 teaspoon vanilla
- dash sea salt
Instructions
- Line a pan with parchment paper and spray paper with baking spray. If you want taller caramels use a 9 x 9 pan. If you want short caramels use a 9 x 13 pan. If you want medium sized caramels use an in between sized pan. That’s what I did.
- Use a large microwave safe bowl for this recipe. Make sure your bowl is pretty big or the caramel will boil over.
- Melt butter in bowl.
- Add brown sugar, corn syrup and sweetened condensed milk to butter. Stir to combine.
- Microwave on full power 4 minutes. Remove from microwave and stir.
- Microwave another 4 minutes. Remove from microwave and stir.
- Microwave another 4 minutes. Remover from the microwave and stir.
- Do a soft ball test by dropping a small ball of caramel into a glass of water. Check to see how soft the caramel. is. The caramel should hold together in a ball and be pretty soft. Determine if caramel is the consistency you would like. If caramel is a little to soft still microwave for another 1-2 minutes. I microwaved mine for 1 more minute and it still produced a very soft caramel.
- Once you’ve reached desired consistency remove caramel from microwave and stir. Add vanilla. Add a dash of seas salt if desired.
- Pour caramel mixture into prepared pan. Sprinkle with sea salt if desired.
- Let caramel sit until completely cooled.
- Remove from pan and cut into squares. Wrap in small squares of wax paper or store in an air tight container.
- Store in refrigerator.


Deborah says
Made your yummy recipe twice. Today I tried to make a batch for holiday gifts same exact everything. Yikes! Came out lumpy almost looks like it curdled. What would have gone wrong? -deb-
Amy Engberson says
Hmmm! I’m glad you loved the first batch! It’s always hard to say when I can’t see what’s happening. I’m guessing you washed the bowl, spoon, etc after between batches. If they weren’t completely dry it could change the texture of the candy. Is your microwave cooking different than usual? It’s important to thoroughly stir in between cook times too.
Vera says
I make these super easy, delicious caramels every year at Christmas time. My only problem I have with them is that I can’t leave them alone! I do share them with my friends – they all love them, too! Thanks for the recipe!
Amy Engberson says
You have the same problem I have! I’ve decided that sharing is a great option!
Leoni Taljard says
Hey
Thanks, sounds great.
What can i use instead of corn syrup or light syrup? We don’t really have corn syrup here in South Africa. And if i would like it soft enough for a macaron filling. Will i just microwave it in shorter? Have you made it on the stove? How long will that take? Not so keen on everything microwaved.
Amy Engberson says
I haven’t ever tried substituting for the corn syrup in this recipe. You could try honey, but I can’t say from experience how it will work. I haven’t ever tried making this caramel recipe on the stove. I’m also not experienced at macarons so I’m not sure what the cook time would need to be to the caramels as soft as you want. I’d try backing the cook time off by about 2-4 minutes to begin with and see how that works.
Tina Gregory says
This sounds delish & I’m so excited! I’m definitely going to give it a try. I will then use the caramels for the center of my millionaires, press in pecan halves & finally coating the entire candy of caramel & pecans with melted chocolate. Did I say I’m so excited, lol? Thank you for the recipe.
Amy Engberson says
That sounds amazing! Let me know how they turn out! These caramels are so easy and delish!
Lk says
Best ever caramels, and so easy to make!
Amy Engberson says
Candy recipes that don’t require constant attention or candy thermometers are the BEST! Especially when they are this good! Glad you enjoyed them!
Shirley Roseland says
So quick and easy and so delicious. I will save this recipe to use over and over again.
Amy Engberson says
The microwave is a game-changer for making these caramels! It’s so easy and they are so incredibly soft and yummy! Glad you liked them!
Susan says
awesome. Fast easy and delicious. It took longer to wrap the caramels in waxed paper than to make the whole batch. I will make these again!
Amy Engberson says
I love it! These caramels are seriously so quick and easy to make that even wrapping them is the most time-consuming part! Enjoy!
Leslie says
Will this work in a lower watt microwave? Like a 1100 watt? Maybe just do an extra 4 minute cycle? Thank you can’t wait to try. I’m all about the no candy thermometer or constant stir and attention.
Amy Engberson says
I’ve never tried making these caramels with a lower watt microwave but I think it will still work just fine. I’d add an extra two-minute cycle and then check it to see if it’s at that softball stage. You can always add more time if it’s not quite there yet. Good luck! These caramels are amazing!
Beryl says
I have made these caramels with a 1100 watt microwave without problem. I use (4) minutes, (4) minutes and then (5) minutes. Works just fine 🙂
Jackie B. says
Tried this last year since I didn’t have a candy thermometer and candy thermometers were too expensive and this recipe provided an alternative. Cannot say enough good things about how great the caramels were and how easy it was. I gave them as gifts and they were raved about by everyone who had them and I received many requests for refills of the container in which I had given them. Will definitely be making again this year.
Amy Engberson says
Yay! These caramels are seriously the easiest caramels and they ALWAYS turn out! I’m so glad you, and your friends enjoyed them!
Shari says
I would like to make these ahead of time…. How long do they stay “good”… In the fridge? Tia
Amy Engberson says
These caramels are DELISH! They do get grainy after about a week though. I’m not sure if keeping them in the fridge would make them last longer or not. I imagine it would though. Let me know how it goes!
Beryl says
After the caramels have set up, cut into squares and coat in tempered chocolate (or candy melts). This seems to keep them really well.
Joan says
Honestly i have been making caramel the old fashion way for years stiring constantly for 20 minutes….I am so happy to find this recipe thank you so much..I made it as directed and turned out perfect.♥️
Amy Engberson says
This method is so much easier than the old fashioned way and tastes every bit as good! I’m so happy you loved it as much as we do!
Nancy Brown says
how long is shelf life and MUST they be stored in fridg?
Amy Engberson says
Hi Nancy! You do not need to store these caramels in the fridge. I’m not exactly sure what the shelf life is of these caramels because my family eats them pretty quickly! Eventually they do get grainy, I’m guessing about a week after you make them. Hopefully that helps!
Erin says
Hi
I love this recipe, but am having a problem with the caramels turning grainy after they are wrapped and sit for a few weeks. HELP
Amy Engberson says
Hi Erin! Aren’ these caramels the softest and easiest caramels in the world! I’m not sure why they are turning grainy after a period of time. I’ve never exerienced this because my family devours them in no time at all! I’m going to look into it and get back with you! Maybe you’ll have to make them more often and share them with your friends, or just eat more of them yourself!
Jocelyne Bonneau says
Excellent mais trop de beurre
Kelley says
I just wanted to let you know that I tried this recipe and they turned out perfectly! I did add an additional 3 minutes just because I like my caramels a little more firm…but they turned out great! I will never go back to my old recipe that involves boiling on the stove! Thank you so much for sharing!
Amy Engberson says
Yay! I’m so glad you fell in love with these caramels! Standing over the stove stirring is highly overrated! Microwaving these caramels is so easy and turns out every single time! Enjoy!
Betty Liller says
I can’t wait to try this thank you for sharing Betty
Amy Engberson says
Yay! I can’t wait for you to sink your teeth into these super soft caramels! Enjoy!
Lori says
Thank you so much for sharing! My husband loves caramel and with this recipe I can make it just for him! My children are 28,23 and 17 and it’s really easy so they can make their own. At this part of life with older children I should be catering more to my wonderful husband of 25 years in April 2019!
Amy Engberson says
Congrats on your 25th anniversary! I can tell you are still madly in love! Yes, this recipe is so easy! If you can use the microwave you can make these caramels! I’m so happy you’re enjoying them!
Beryl Loveland says
I have made this recipe several times and just LOVE it. I have taken to putting a layer of homemade marshmallow over the top, cutting into squares and dipping into tempered dark chocolate. wonderful 🙂 Happy holidays and New Year to one and all.
Linda Simmons says
Thank you, this looks easier than the way I was doing it.
Amy Engberson says
Aren’t shortcuts the best? I love that these can be made in the microwave! It’s such a simple, yet foolproof method! Enjoy!
Jonelle says
Is there a way to keep these caramels from getting sugary after about 3-4 weeks?
Amy Engberson says
Hi Jonelle! In know exactly what you are talking about, unfortunately I’m not exactly sure how to stop them from getting sugary. My favorite solultion is to share them with friends and neighbors so they don’t have a chance to sit around that long! Let me know if you find a way to stop them from getting sugary though!
Jonelle says
I make lots of them as Christmas gifts to friends, so I have to start a few weeks before Christmas and some of the early ones start to sugar by Christmas. Can they be frozen without losing the goodness? People love them and they are super easy to make.
Amy Engberson says
Hi Jonelle! I haven’t ever tried freezing these caramels because my family polishes them off before very long! I’m not exactly sure how it would work, but I admit it would be nice to have a few batches in the freezer for super busy days! Let me know how it turns out!
Katie Eakins says
So kind of a funny story here. I was looking for the recipe I used for rum caramel a couple years ago (rum flavor was not in the original recipe) and I found a microwave recipe. It was a little different than this one, but I couldn’t remember so I tried it. Grainy. Found this one (I’m about 90% sure I used this last time) and halved it. Grainy. Was at a complete loss. Then I read the comments. I read the recipe as one STICK of butter, not one cup! My guess, not enough liquid to dissolve the sugar, but should be perfect next time :). Thanks so much for this great recipe!
Amy Engberson says
More butter is always a good thing! I’m glad you found this recipe and it turned out for you! Oh, and rum flavoring sounds amazing!